The other day I started messing around with converting 2D designs into isometric views in Figma. I thought it might be neat to create a ViewModifier in SwiftUI that does the same thing. After posting a screenshot of my work on twitter, I decided to write this tutorial.
Overview
I've broken the tutorial into two parts (both below):
- Applying an Isometric Transformation to a View
- Extruding an Isometric View
Before getting started, please consider subscribing using this link, and if you aren't reading this on TrailingClosure.com, please come check us out sometime!
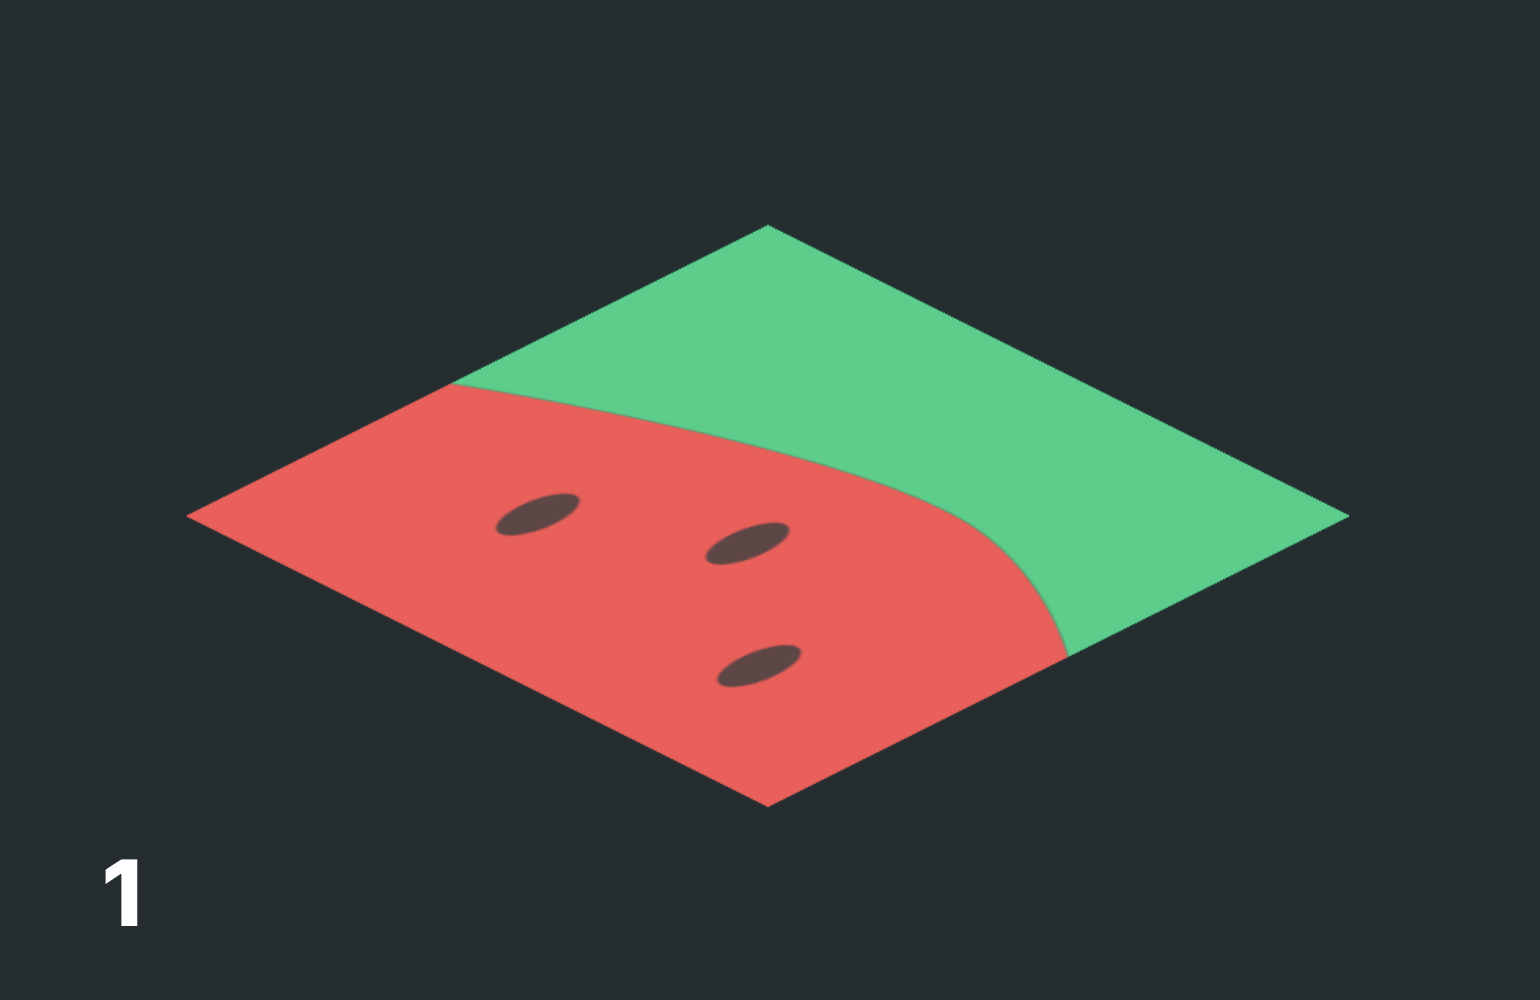
Throughout this tutorial you're going to see my best 2D square drawing of a watermelon slice. Yes...I apologize in advance, but there's one sitting in front of me as I write this tutorial, so that's the image you're going to get... 😊

Converting 2D Views to Isometric Views
One of the simplest ways to transform a 2D view is to rotate it 45° and then scale its height by a factor of 0.5. Simply rotate and shrink!
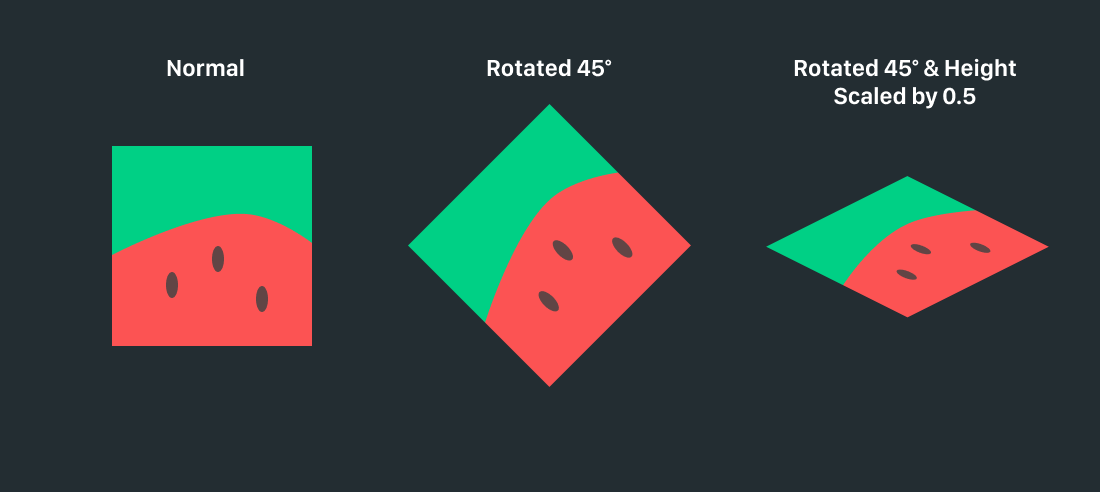
Written as a custom ViewModifier
Now we can take the steps from above and convert this to a custom SwiftUI ViewModifier like this:
struct IsometricViewModifier: ViewModifier {
func body(content: Content) -> some View {
content
.rotationEffect(Angle(degrees: 45), anchor: .center)
.scaleEffect(x: 1.0, y: 0.5, anchor: .center)
}
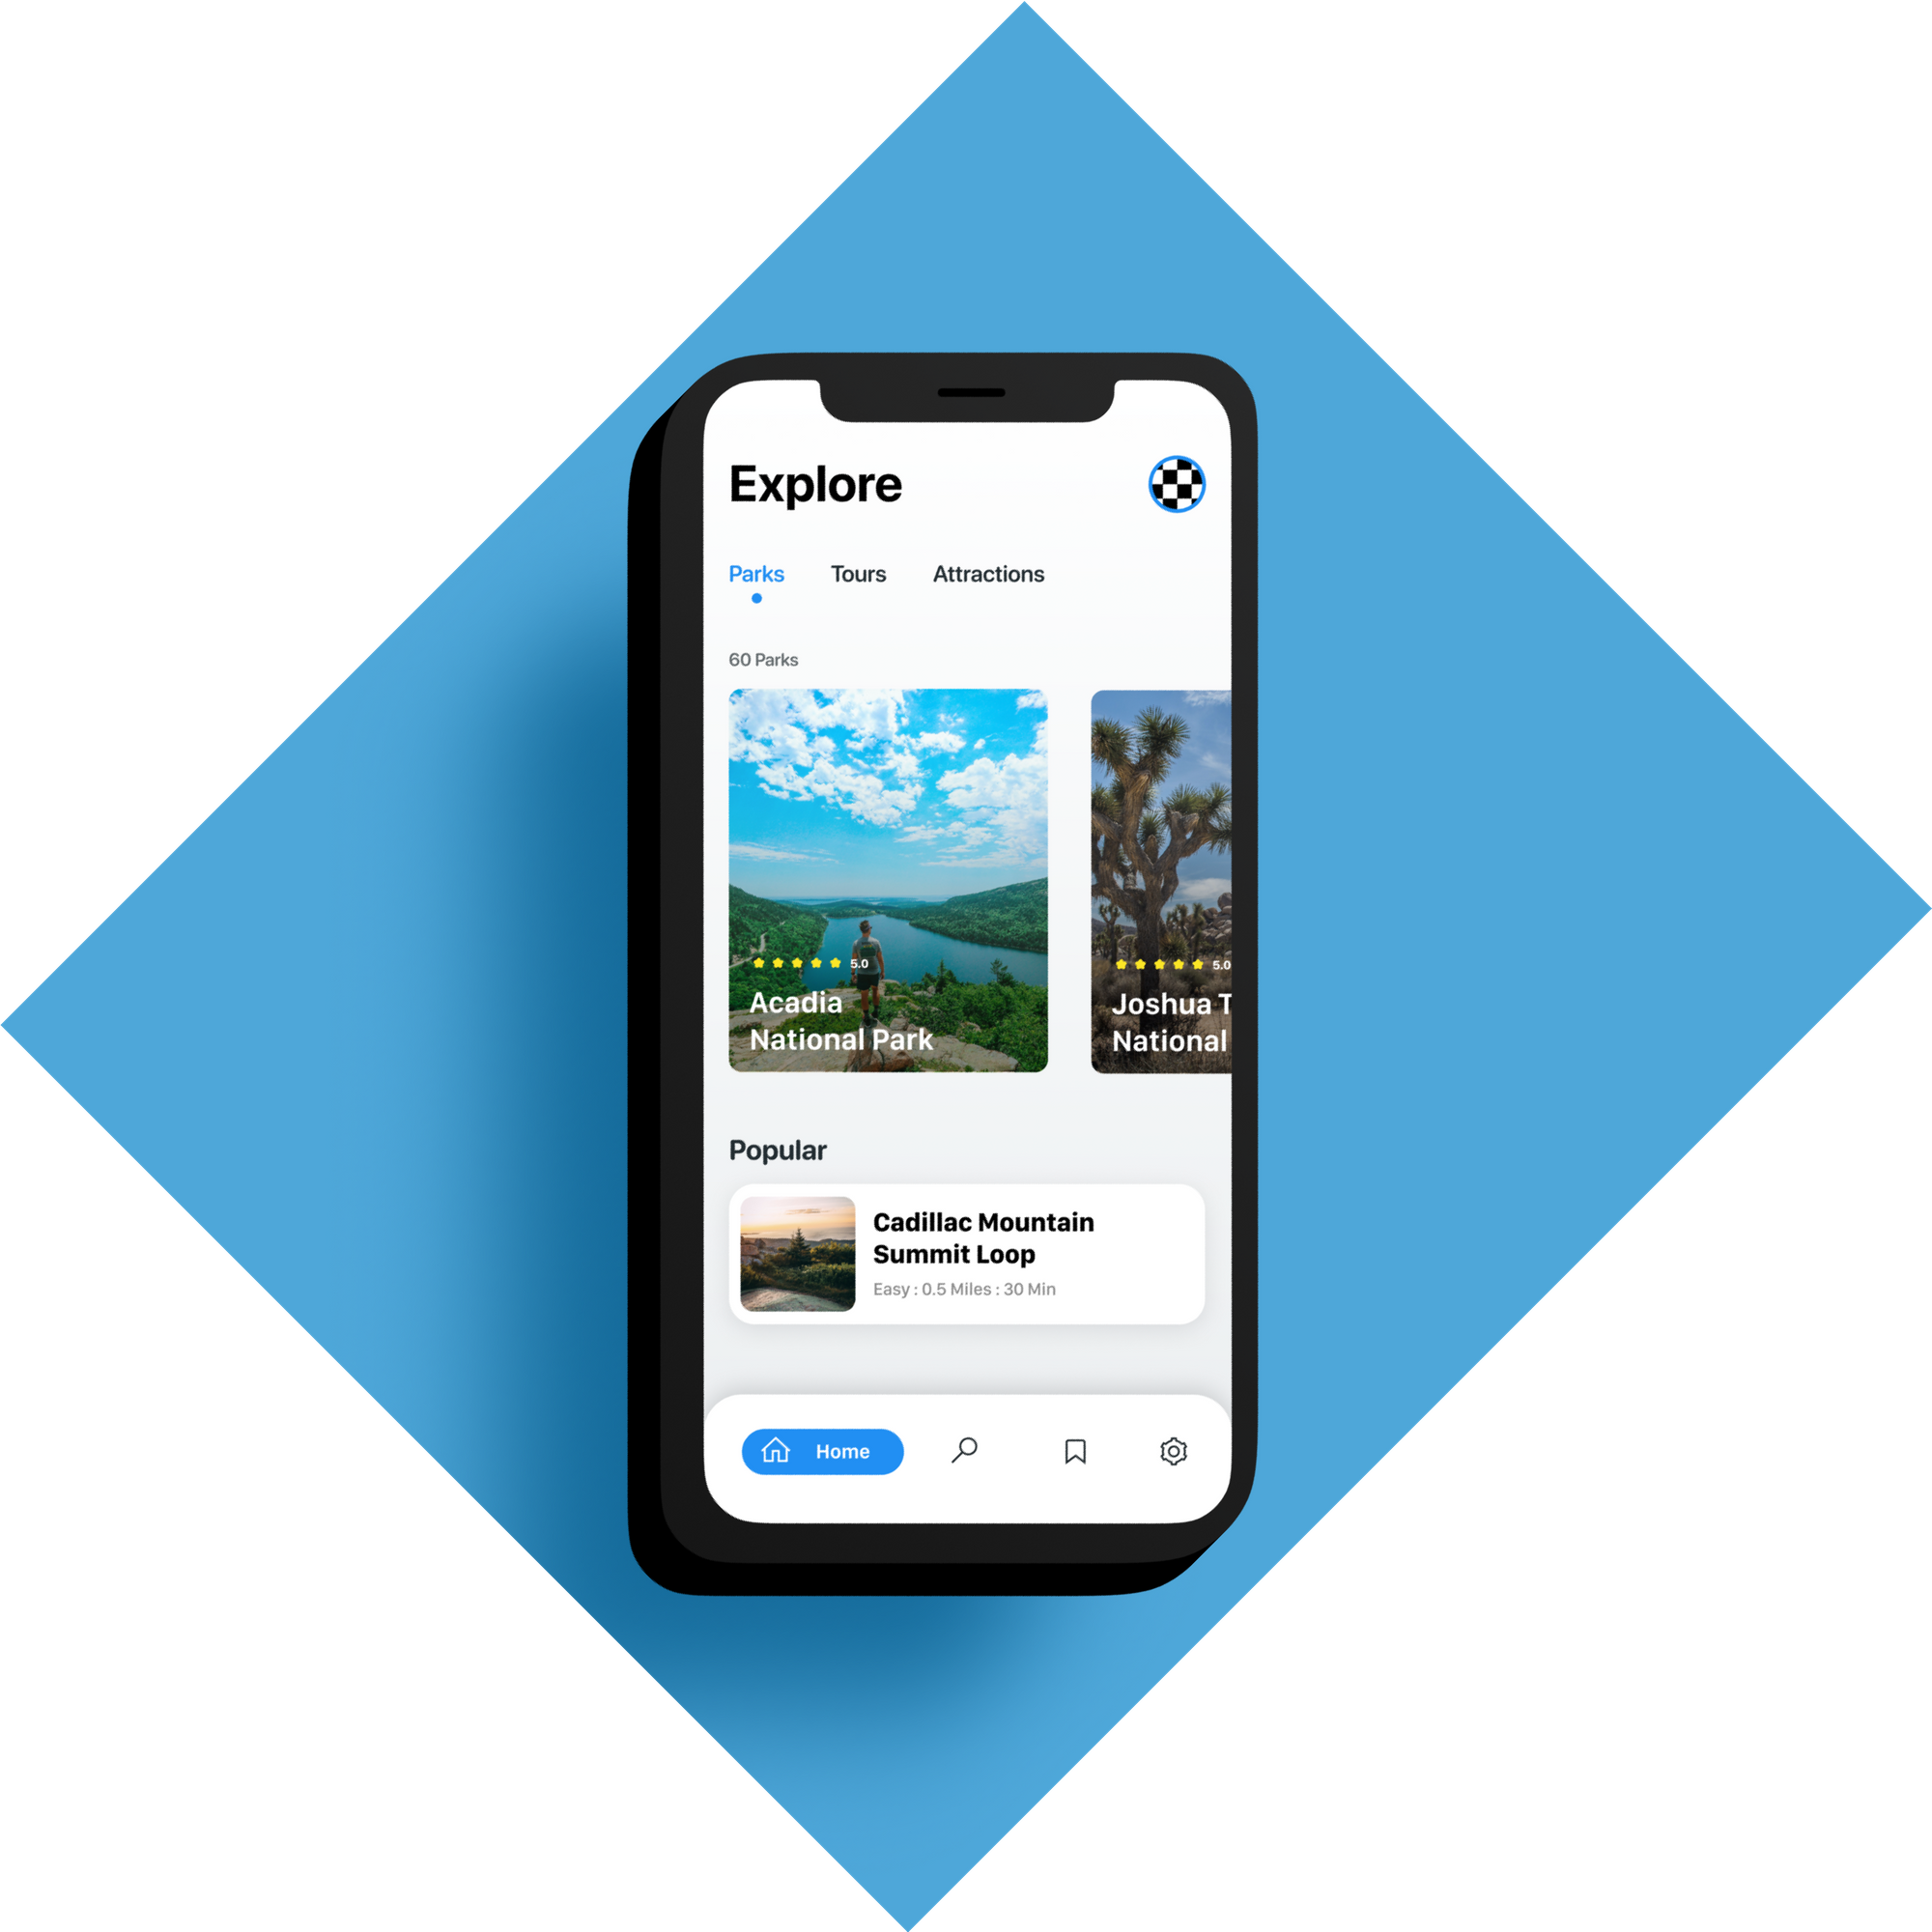
}This same technique is used all over the place for when designers want to mockup their UI design on a real device. Below you can see how it was used on a design from one of my other tutorials. It really is as simple as a rotation and scaling of the height.

Reverse Reverse!
And if we reverse the steps above on the mockup image, then we get the original image before the isometric transformation.
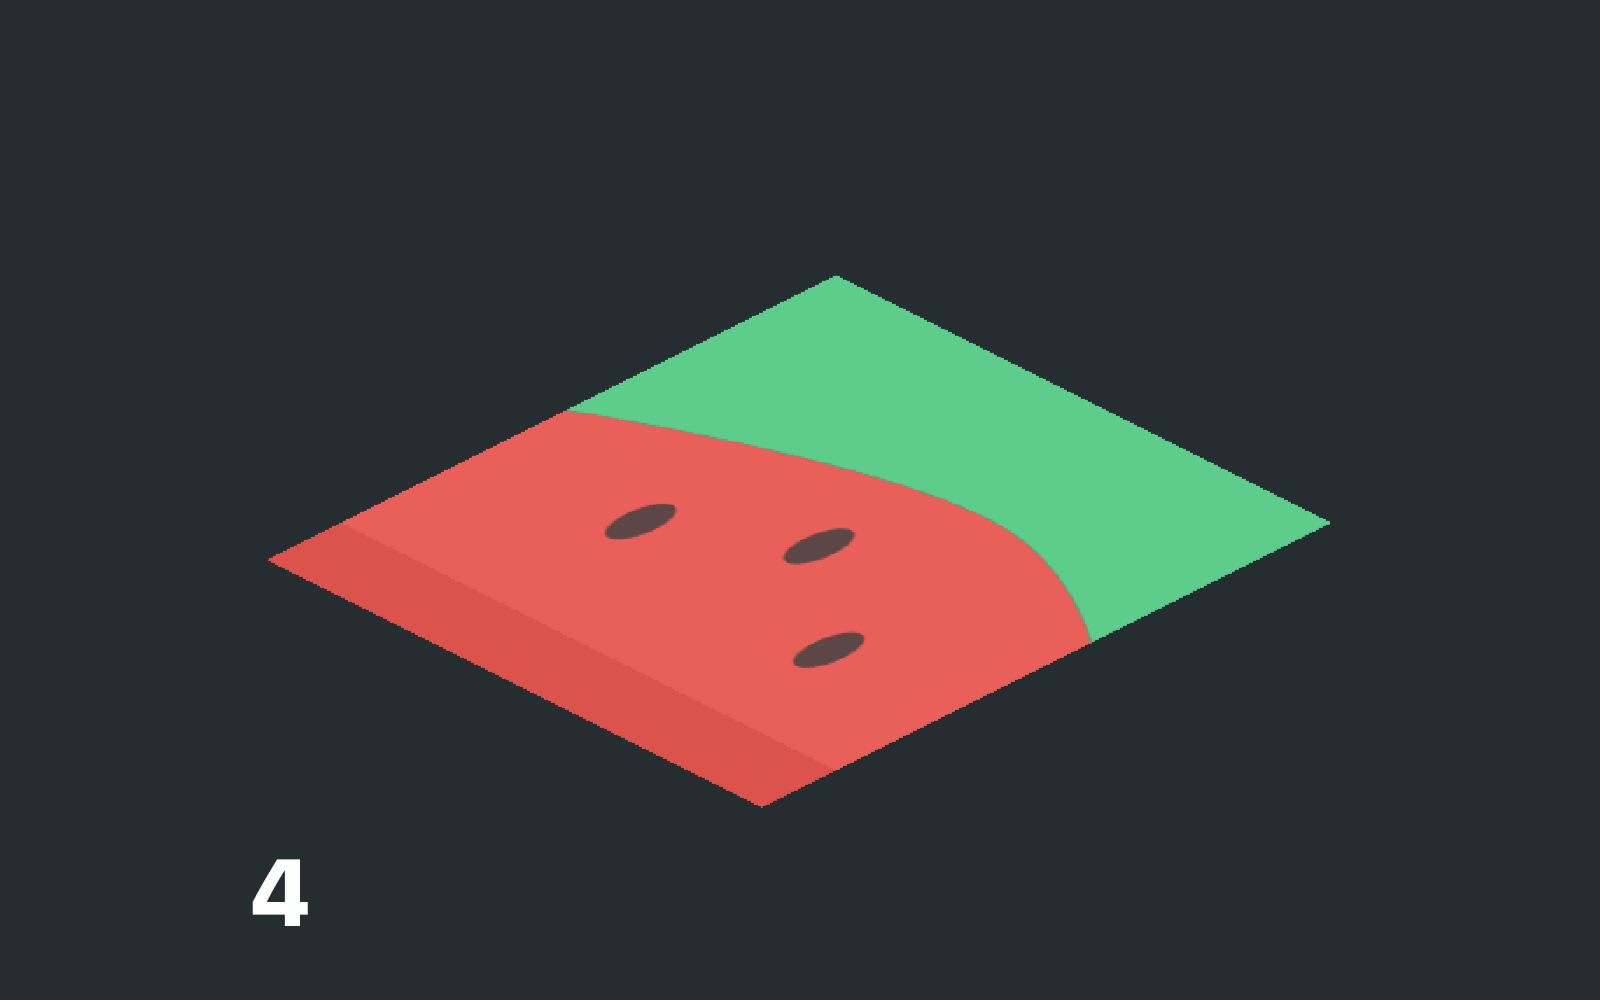
Extruding Isometric Views
Now for the harder part. What our isometric views are missing is depth. For this next part, we're going to be creating the extruded base of our isometric view.
Please note, this section provides an extrusion technique for non-rounded rectangular views. I'm still messing around with potential ways to apply an isometric transformation and extrude the view with rounded corners. In design programs like Figma it can be easy, but it has proven difficult transferring the process to code.
Simulating Extrusion
In order to create a perfect extrusion of a view, we need to take the colors from the outside (front two isometric sides) and extend them down along the isometric z-axis. The way I accomplish this is by scaling the provided content along the x or y-axis and then clip it to the correct size and shape. This allows us to retain the exact colors from views such as Images and Gradients.
For this technique I break down the extrusion into two parts: The front left and front right side. In code they are actually two separate overlays on top of the 2D isometric view.
Custom ExtrudeModifier
Here is the template for the ExtrudeModifier struct. Below I'm going to walk through extruding the front left side via a set of pictures. Then I will briefly copy the same process to the opposite side to complete the extrusion.
struct ExtrudeModifier<Texture: View> : ViewModifier {

    var depth: CGFloat // Extrusion Depth
    var texture: Texture

    func body(content: Content) -> some View {
        content
            // Front Left Side
            .overlay(
            	// Content (Texture) here
            , alignment: .center)

            // Front Right Side
            .overlay(
                // Content (Texture) here
            , alignment: .center)
    }
}

Below I've commented the steps I've taken to create the first half of the extrusion.
Note: The photos above have the
offset(x: 0, geo.size.height)already applied. I did this to help the reader visualize the steps as I went through them in the code.
struct ExtrudeModifier<Texture: View> : ViewModifier {

    var depth: CGFloat
    var texture: Texture

    func body(content: Content) -> some View {
        content
            // Front Left Side
            .overlay(
                GeometryReader { geo in
                    texture // Step 2
                        .brightness(-0.05)
                        .scaleEffect(x: 1, y: geo.size.height * geo.size.height, anchor: .bottom) // Step 3
                        .frame(height: depth, alignment: .top) // Step 4
                        .mask(Rectangle())
                        .rotation3DEffect(
                            Angle(degrees: 180),
                            axis: (x: 1.0, y: 0.0, z: 0.0),
                            anchor: .center,
                            anchorZ: 0.0,
                            perspective: 1.0
                        )
                        .projectionEffect(ProjectionTransform(CGAffineTransform(a: 1, b: 0, c: 1, d: 1, tx: 0, ty: 0))) // Step 5
                        .offset(x: 0, y: geo.size.height)

                }
                , alignment: .center)

            // Front Right Side
            .overlay(
            	// TO DO
            , alignment: .center)

    }
}
Now the Other Side
Now I'll apply the same technique to the other side of the isometric view.
struct ExtrudeModifier<Texture: View> : ViewModifier {
var depth: CGFloat
var texture: Texture
func body(content: Content) -> some View {
content
// Front Left Side
.overlay(
// See code from before...
, alignment: .center)
// Front Right Side
.overlay(
GeometryReader { geo in
texture
.brightness(-0.1)
.scaleEffect(x: geo.size.width * geo.size.width, y: 1.0, anchor: .trailing)
.frame(width: depth, alignment: .leading)
.clipped()
.rotation3DEffect(
Angle(degrees: 180),
axis: (x: 0.0, y: 1.0, z: 0.0),
anchor: .leading,
anchorZ: 0.0,
perspective: 1.0
)
.projectionEffect(ProjectionTransform(CGAffineTransform(a: 1, b: 1, c: 0, d: 1, tx: 0, ty: 0)))
.offset(x: geo.size.width + depth, y: 0 + depth)
}
, alignment: .center)
}
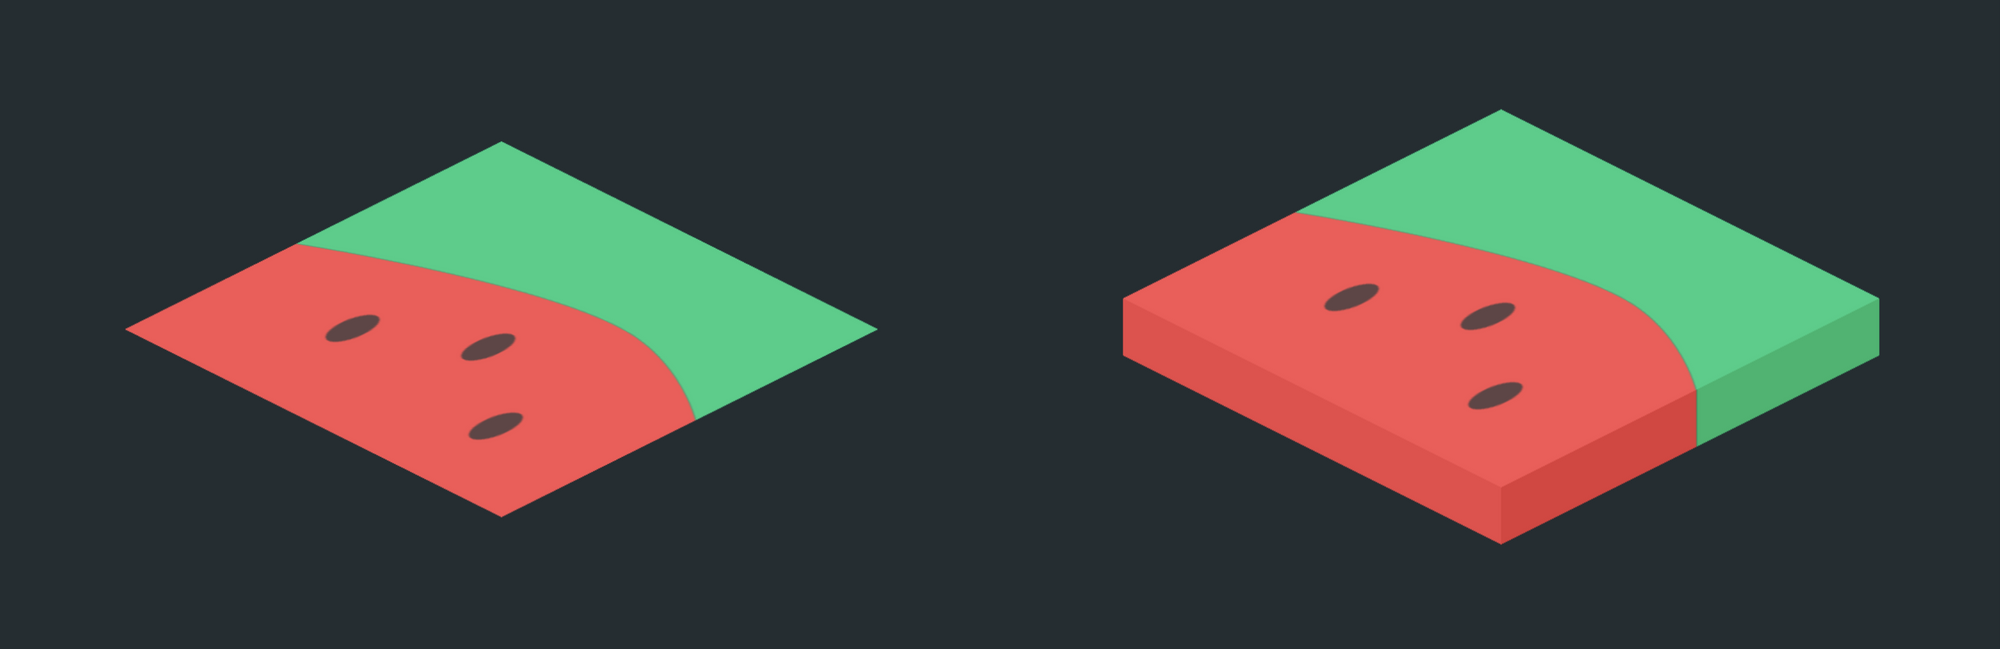
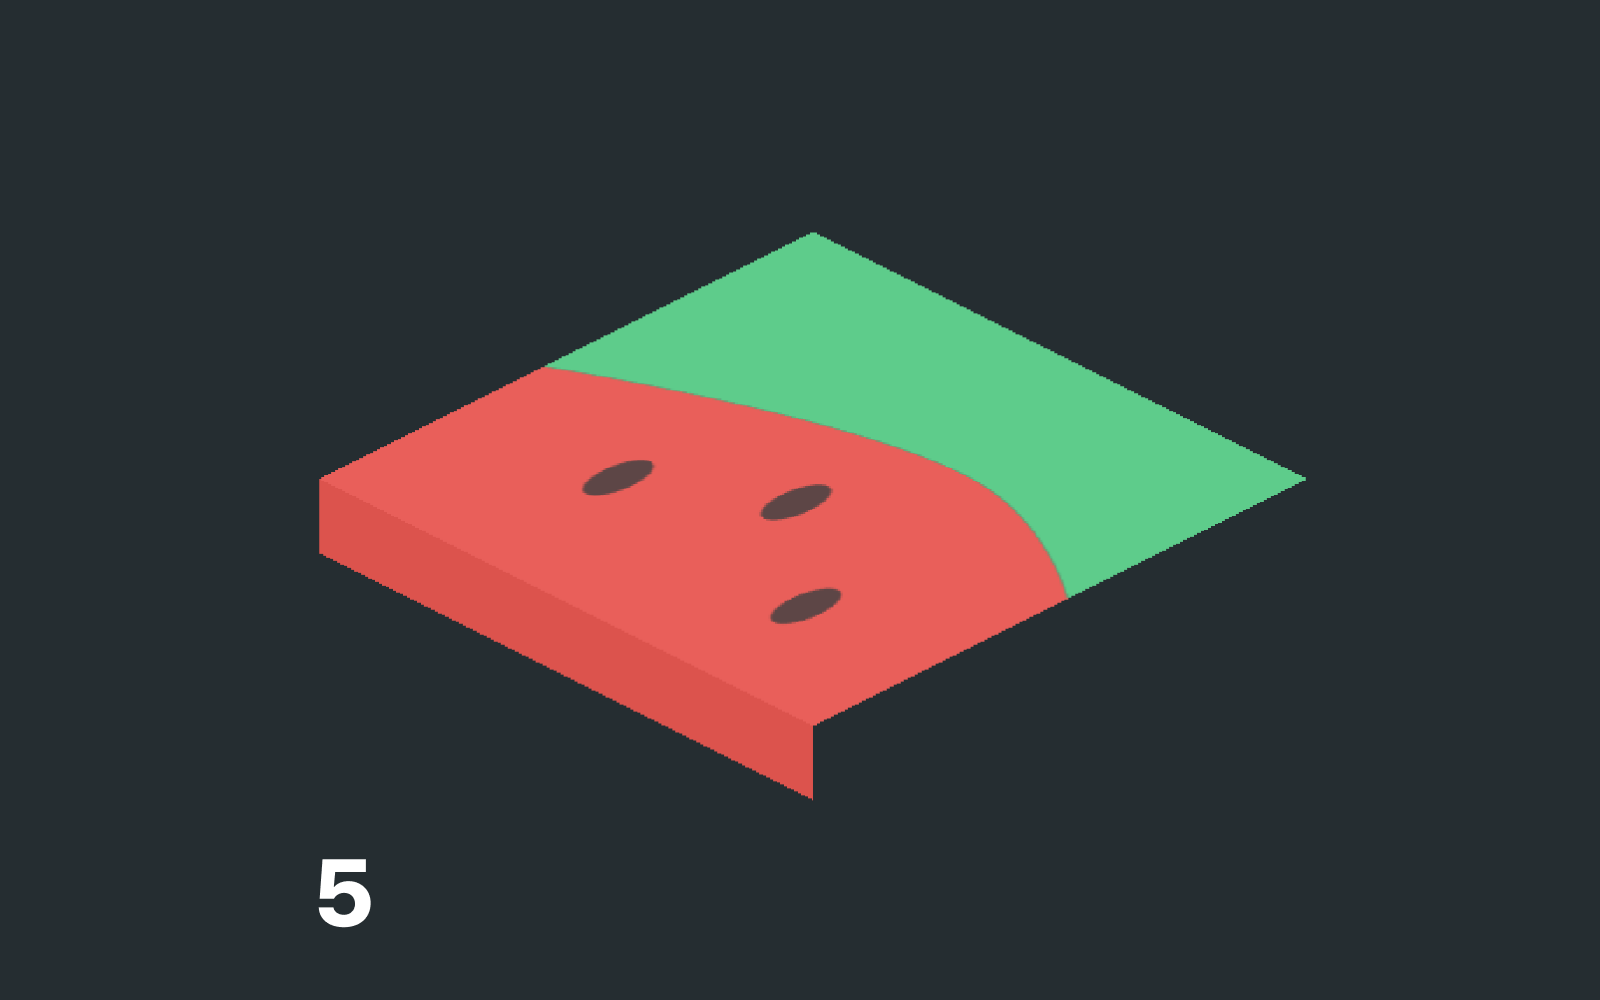
}Why did you change the brightness of the sides?
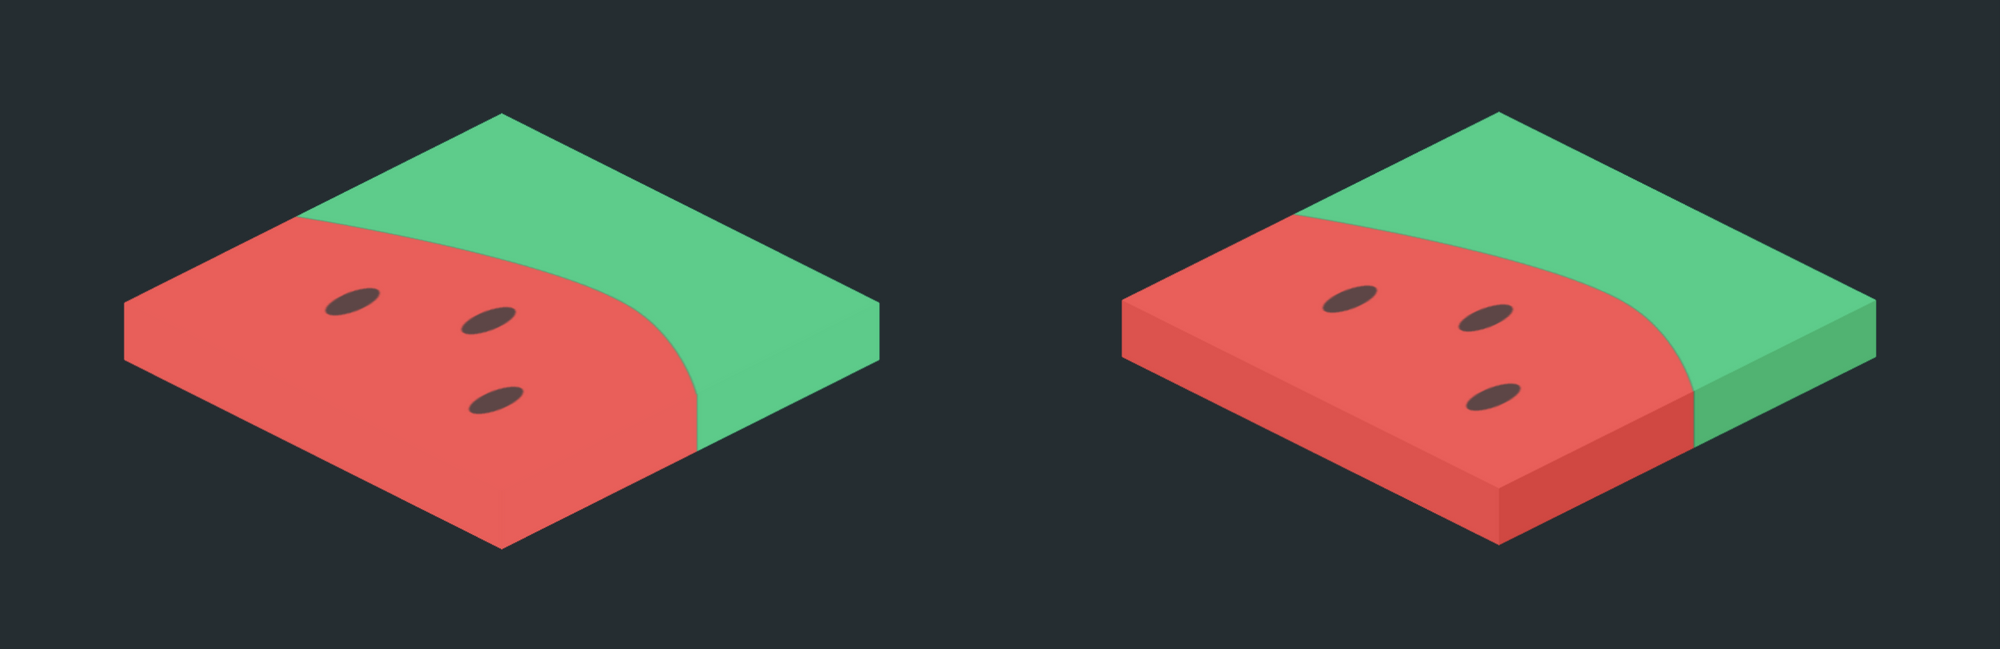
If you noticed above, I modified the brightness of the two overlays to make them darker. This helps simulate the 3D nature of the isometric view. Without it, the view would look plain, and flat on the screen. Notice how big of a difference it makes in the comparison below.
Putting It All Together
If you'd like, you can create a custom IsometricView component which utilizes the ExtrudeModifier and IsometricViewModifier above. This custom component gives the developer the option to dynamically change whether or not the view is isometric as well as the depth of the extrusion.
struct IsometricView<Content: View>: View {

    var active: Bool
    var content: Content
    var extruded: Bool
    var depth: CGFloat

    init(active: Bool, extruded: Bool = false, depth: CGFloat = 20, @ViewBuilder content: ()-> Content) {
        self.active = active
        self.extruded = extruded
        self.depth = depth
        self.content = content()
    }

    @ViewBuilder var body: some View {
        if active {
            if extruded {
                content
                    .modifier(ExtrudeModifier(depth: depth, background: content))
                    .modifier(IsometricViewModifier(active: active))
                    .animation(.easeInOut)
            } else {
                content
                    .modifier(IsometricViewModifier(active: active))
                    .animation(.easeInOut)
            }
        } else {
            content
                .animation(.easeInOut)
        }

    }
}
Example Use
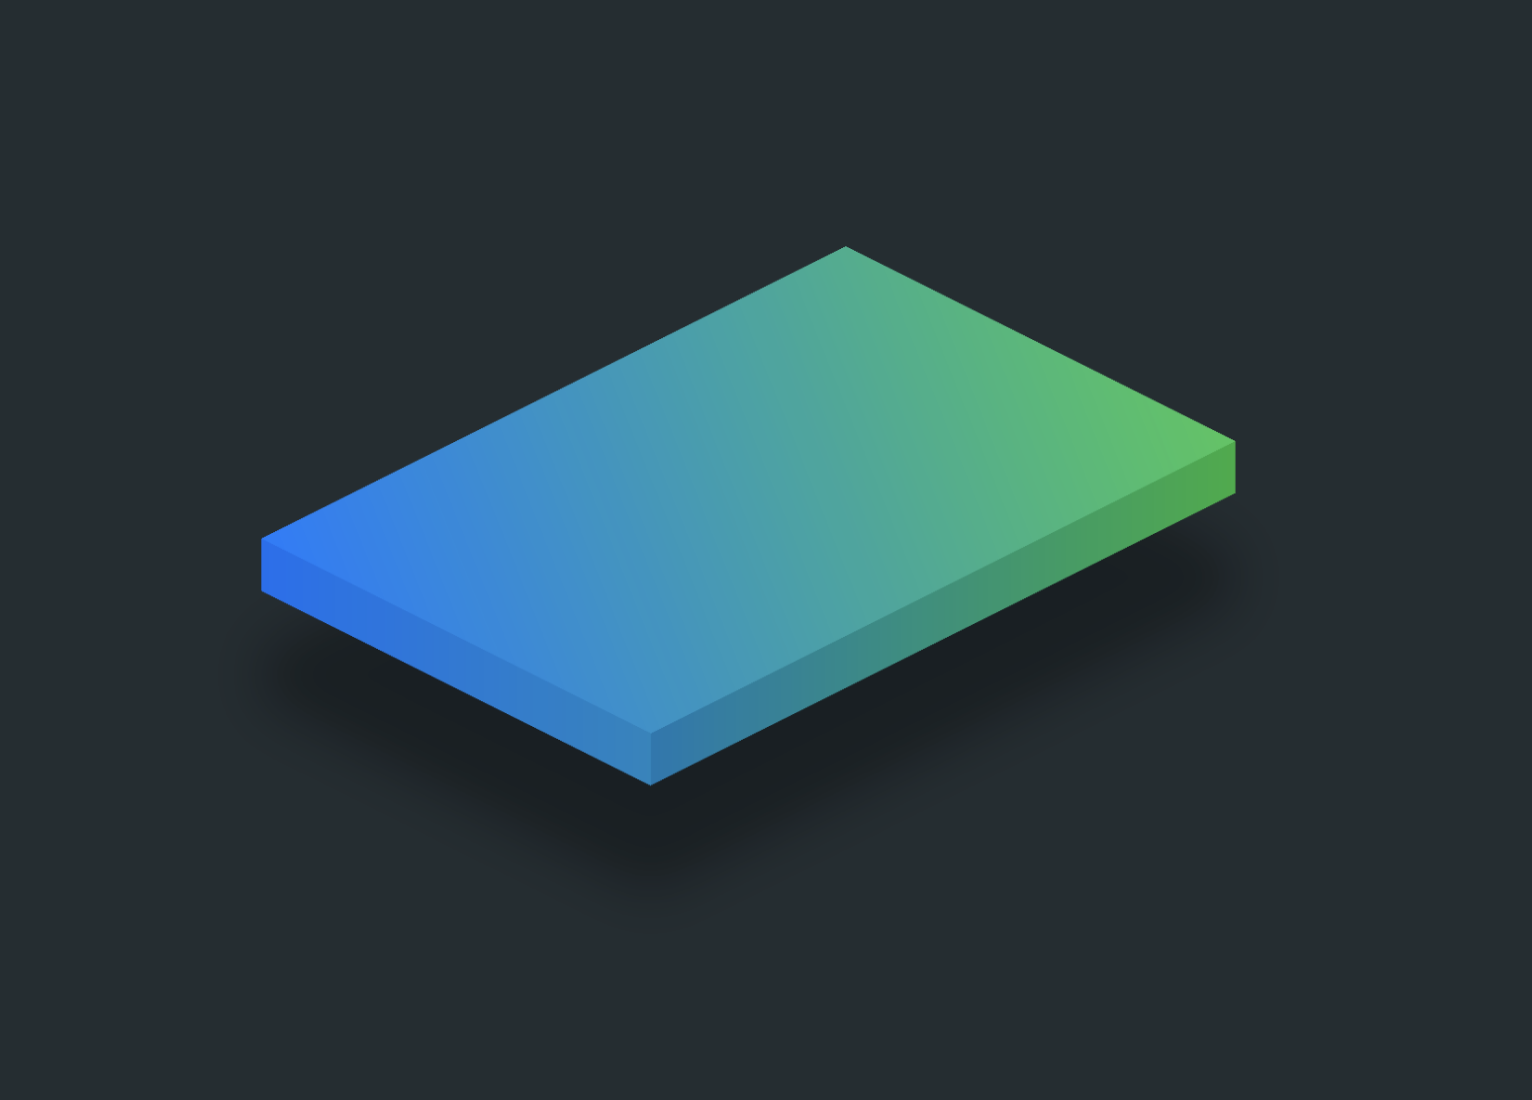
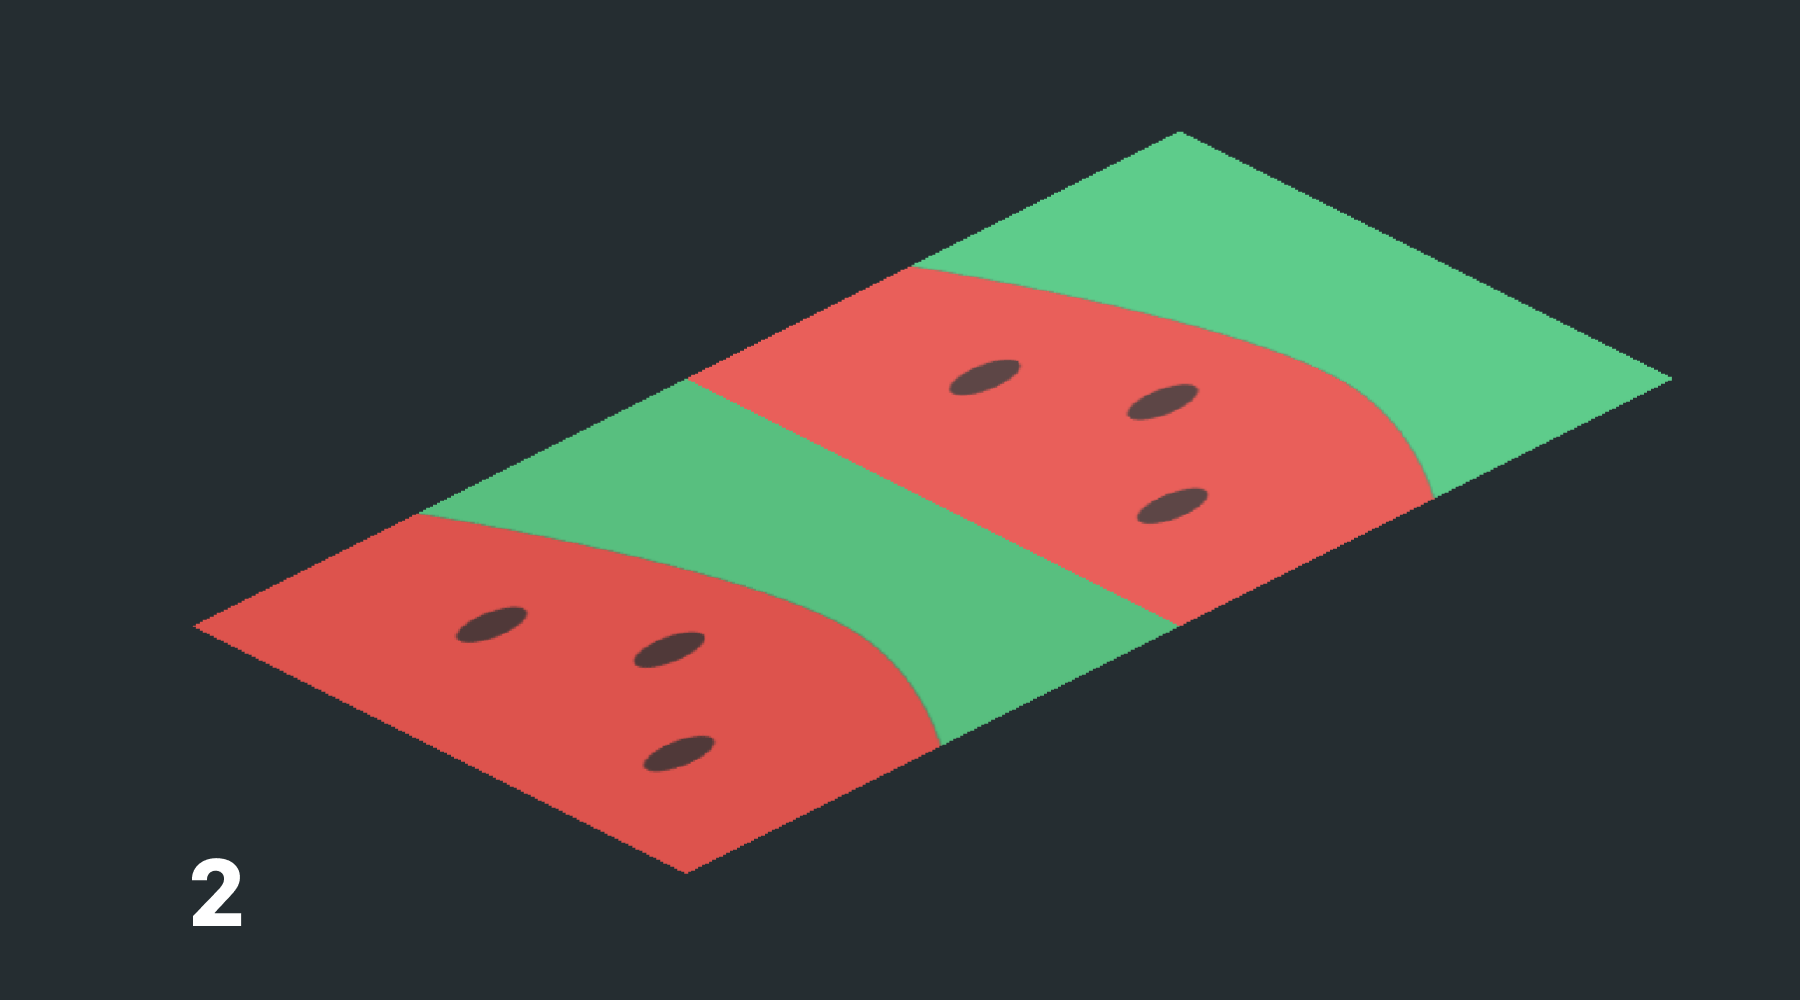
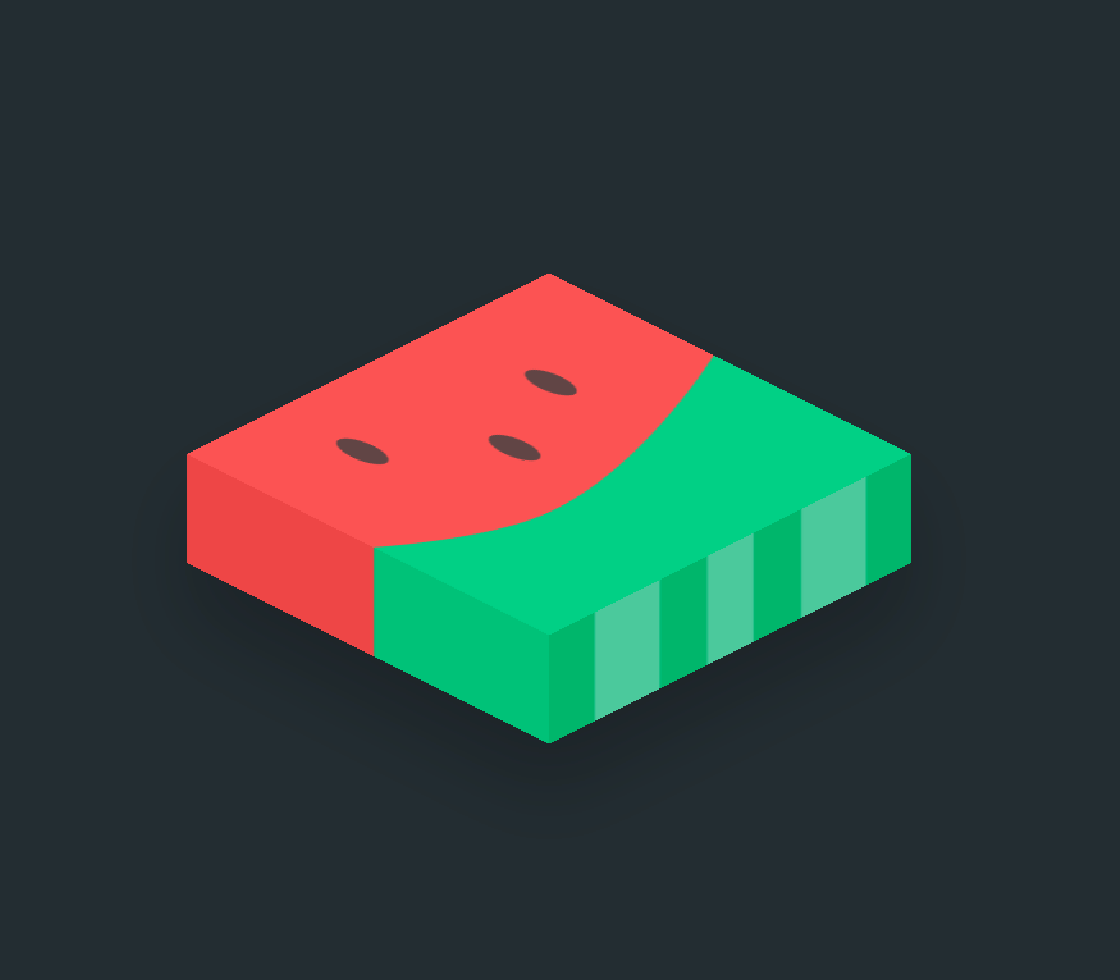
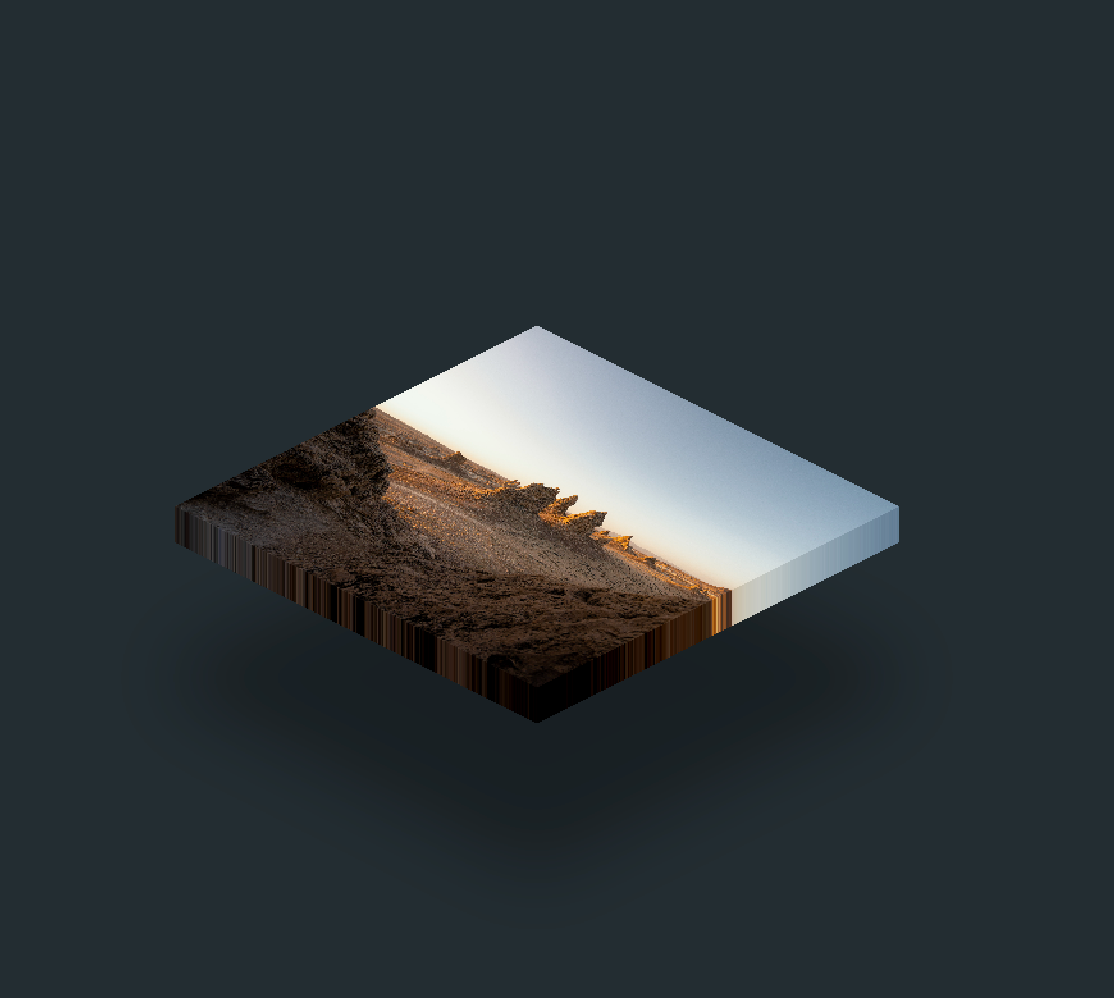
Once you start playing with the IsometricViewModifier and ExtrudeModifier you can make some interesting things. Below I have a floating isometric view, another with two different extruded textures, and also an image.
Show us what you've made!
We want to see what you've made using this tutorial! Send us pics! Find us on Twitter @TrailingClosure, on Instagram, or email us at [email protected].