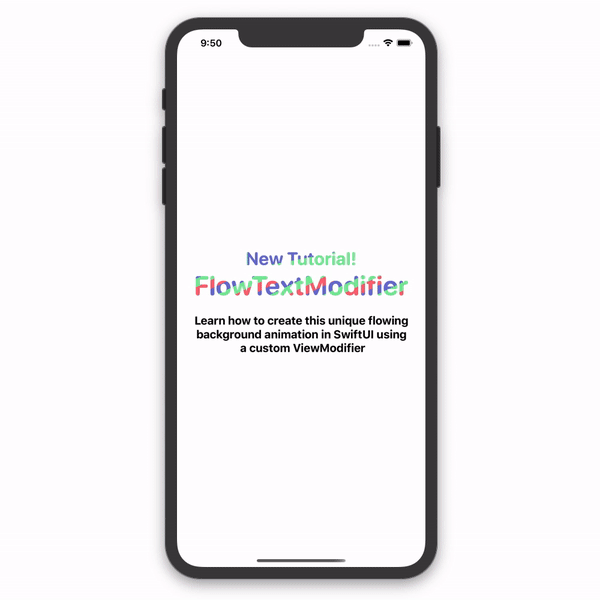
A quick look at what we'll be creating today. At the end of this tutorial you'll be able to add this 'Flow' effect to any text in your SwiftUI app using a custom ViewModifier. See below for an example.
Text("FlowTextModifier")
    .modifier(FlowTextModifier(background: Image("TestImage")))
It's as simple as that!
Before getting started, please consider subscribing using this link, and if you aren't reading this on TrailingClosure.com, please come check us out sometime.
Getting Started
For this tutorial we'll only be creating one file, so feel free to test this out in a current project or a new one just for this tutorial.
First off, create a new class called FlowTextModifier and make sure it inherits from the ViewModifier class. Also be sure to implement the body function and return the content as is for now.
For more information on the
ViewModifierclass, checkout the Apple Developer documentation here. What it essentially does is take in the original view or content and mutates it using the modifier and returns that modified content.
Here's what we should have so far:
public struct FlowTextModifier: ViewModifier {

    public func body(content: Content) -> some View {
        content
    }

}
The way our ViewModifier is going to work is that we will provide it a background Image and it will move left to right on top of the content. This will give it that flowing animation. Then to ensure we retain the visibility of the content passed in, we will mask this image.

Before we can mask an Image we will need create one. So create an init function for the FlowTextModifier and have it receive an Image as a parameter.
var image:Image

init(background: Image) {
    self.image = background
}
Modifying content
We're going to add this now masked (and for this example very colorful) image as an overlay. Let's get started.
public func body(content: Content) -> some View {
    content
        .overlay(
            // Masked Content Here
        )
}
We'll then add a GeometryReader as the root View in the overlay. This will help us calculate the movement of the overlay later...
public func body(content: Content) -> some View {
    content
        .overlay(
            GeometryReader { geo in
                // Masked Content Here
            }
        )
}
Then include the image we defined earlier. We've made it resizable() in order to grow with whatever content is passed in. Furthermore, we've masked the image with the content that was passed in.
public func body(content: Content) -> some View {
    content
        .overlay(
            GeometryReader { geo in
                // Masked Content Here
                self.image()
                    .resizable()
                    .mask(content)
            }
        )
}
Running this code will give us...
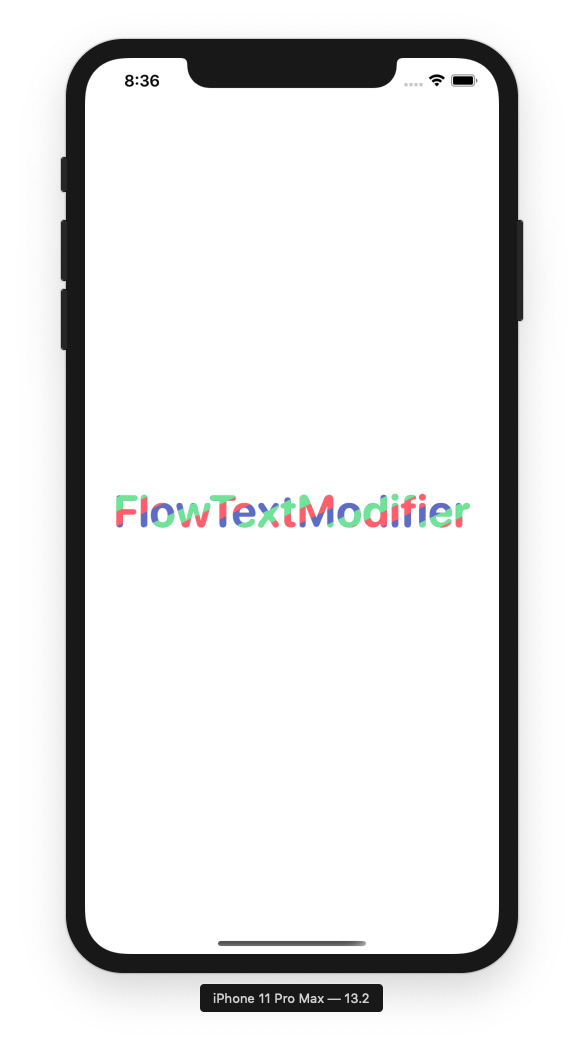
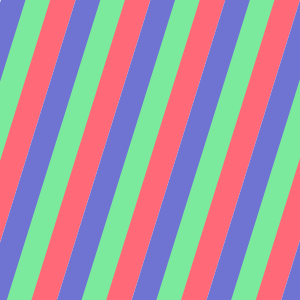
Use this code and image if you'd like to try it out on your emulator!
The image is just something I cooked up real quick in Sketch for testing purposes. Feel free to use whatever image you'd like :)
import SwiftUI

struct FlowTextTest: View {
    var body: some View {
        Text("FlowTextModifier")
        .font(Font.system(size: 45, weight: .bold, design: .rounded))
        .modifier(FlowTextModifier(background: Image("FlowTextTestBackground")))
    }
}
Animating The Text
Next up we're going to start animating the background. What we'll do is create a timer which fires every second and changes the offset of the image.
Modifying The Image Offset
In order to track the offset we'll need to create a @State variable to keep track of it. Next to where you defined the image variable go ahead and add one for the offset.
public struct FlowTextModifier: ViewModifier {

    var image:Image
    @State var offset:CGPoint = .zero

    // Rest of the class...

}
Then update our image to use this new offset...
public func body(content: Content) -> some View {
    content
        .overlay(
            GeometryReader { geo in
                // Masked Content Here
                self.image()
                    .resizable()
                    .offset(x: self.offset.x, y: self.offset.y)
                    .mask(content)
            }
        )
}
Create The Timer
Now add the timer at the top of your class. This will publish updates every second which we will then use to change the offset of our image.
public struct FlowTextModifier: ViewModifier {

    var image:Image
    @State var offset:CGPoint = .zero
    let timer = Timer.publish(every: 1, on: .main, in: .common).autoconnect()

    // Rest of the class...

}
Now receive the updates within your body by editing your image code to this.
public func body(content: Content) -> some View {
    content
        .overlay(
            GeometryReader { geo in
                // Masked Content Here
                self.image()
                    .resizable()
                    .offset(x: self.offset.x, y: self.offset.y)
                    .mask(content)
                    .onReceive(self.timer) { _ in
                        // Update offset here
                    }
            }
        )
}
Calculating The Offset
In order to make it easier to calculate the offset, we're going to create a function which is called every time the Timer is fired. Mine looks like this.
func getNextOffset(size: CGSize, offset: CGPoint) -> CGPoint {
    var nextOffset = offset

    if nextOffset.x + (size.width / 10.0) > size.width {
        nextOffset.x = 0
    } else {
        nextOffset.x += size.width / 10.0
    }
    return nextOffset
}
What it does is receive the size of our content via the GeometryReader as well as the current offset. It then advances the next offset by 1/10th of the width of our view. You can modify this to your liking :)
If any of you readers would like to modify the speed, direction, etc of your animation, here's a good place to do it. While testing I created my own
FlowAnimationTypeenum in order to play with other animations. This code can easily be extended to support vertical movement as well as any other type of path you want your image to take.
Using the getNextOffset Function
public func body(content: Content) -> some View {
    content
        .overlay(
            GeometryReader { geo in
                // Masked Content Here
                self.image()
                    .resizable()
                    .offset(x: self.offset.x, y: self.offset.y)
                    .mask(content)
                    .onReceive(self.timer) { _ in
                        // Update offset here
                        let newOffset = self.getNextOffset(size: geo.size, offset: self.offset)

                        if newOffset == .zero {
                            self.offset = newOffset
                            withAnimation(.linear(duration: 1)) {
                                self.offset = self.getNextOffset(size: geo.size, offset: newOffset)
                            }
                        } else {
                            withAnimation(.linear(duration: 1)) {
                                self.offset = newOffset
                            }
                        }
                    }
            }
        )
}
Let's walk through this real quick. In the first part I grab the new offset using our getNextOffset function. Then we decide whether or not the next offset is at zero. We do this so that we can choose whether or not to animate the change. if you can imagine when the image is moving and it gets to the end of the content, it will need to snap back to the beginning to replay. We don't want to animate this change, because then it would look like the animation is playing in reverse. So instead we set the offset to .zero in the first if case, and then grab the next offset to continue with the animation. The else case is simply for all of the other times when the image is moving and will animate as normal.
Testing What We Have So Far...
Go ahead and run your project to view our flowing text in action...
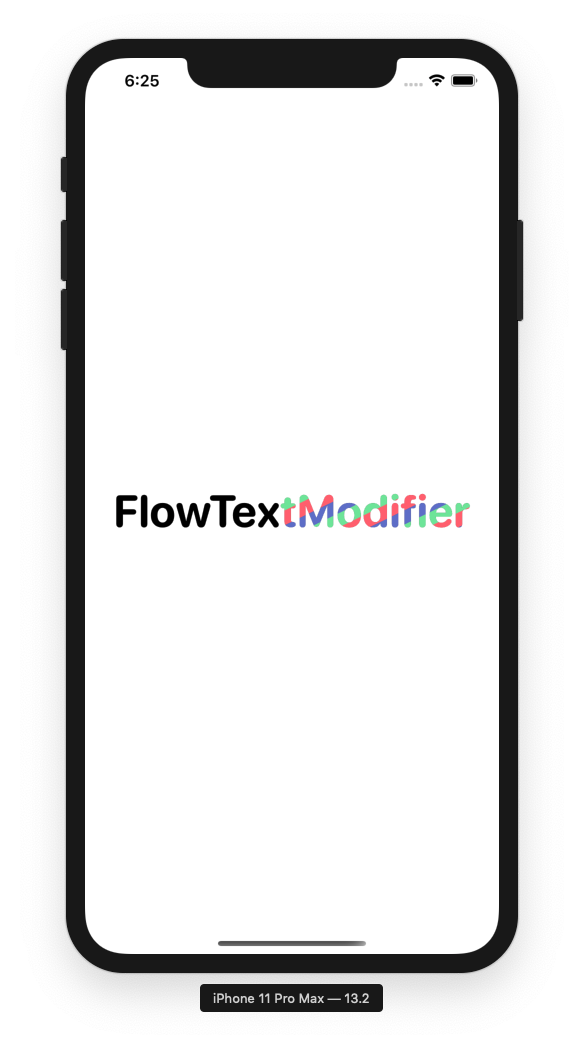
It looks like we're almost there, but something isn't quite right. Our image is animating however, when it moves off the view, it shows the text underneath. This is a simple fix.
Adding A Copy of the Image
Wrap your image in a ZStack and place a copy of the image above our original one. Then we're going to add a mask and make it resizeable just like the first one, except we won't use the exact same offset. We'll make it trail the original image by exactly the width of our content. See below for the code.
public func body(content: Content) -> some View {
    content
        .overlay(
            GeometryReader { geo in
                ZStack(alignment: .center) {
                    self.image
                        .resizable()
                        .offset(x: self.offset.x - geo.size.width, y: self.offset.y)
                        .mask(content)
                    self.image
                        .resizable()
                        .offset(x: self.offset.x, y: self.offset.y)
                        .mask(content)
                        .onReceive(self.timer) { _ in
                            // Update Offset here
                            let newOffset = self.getNextOffset(size: geo.size, offset: self.offset)

                            if newOffset == .zero {
                                self.offset = newOffset
                                withAnimation(.linear(duration: 1)) {
                                    self.offset = self.getNextOffset(size: geo.size, offset: newOffset)
                                }
                            } else {
                                withAnimation(.linear(duration: 1)) {
                                    self.offset = newOffset
                                }
                            }
                        }
                }
            }
        )
}
It works!
Now feel free to play around with it and try different backgrounds, text, or views!
Support Future Posts
If you enjoyed this post, please consider subscribing to my website using this link, and if you aren't reading this on TrailingClosure.com, please come check us out sometime!