All of the code for the VideoCard is posted on my GitHub. Feel free to download or star for later use.
Before getting started, please consider subscribing using this link, and if you aren't reading this on TrailingClosure.com, please come check us out sometime!
Getting Started
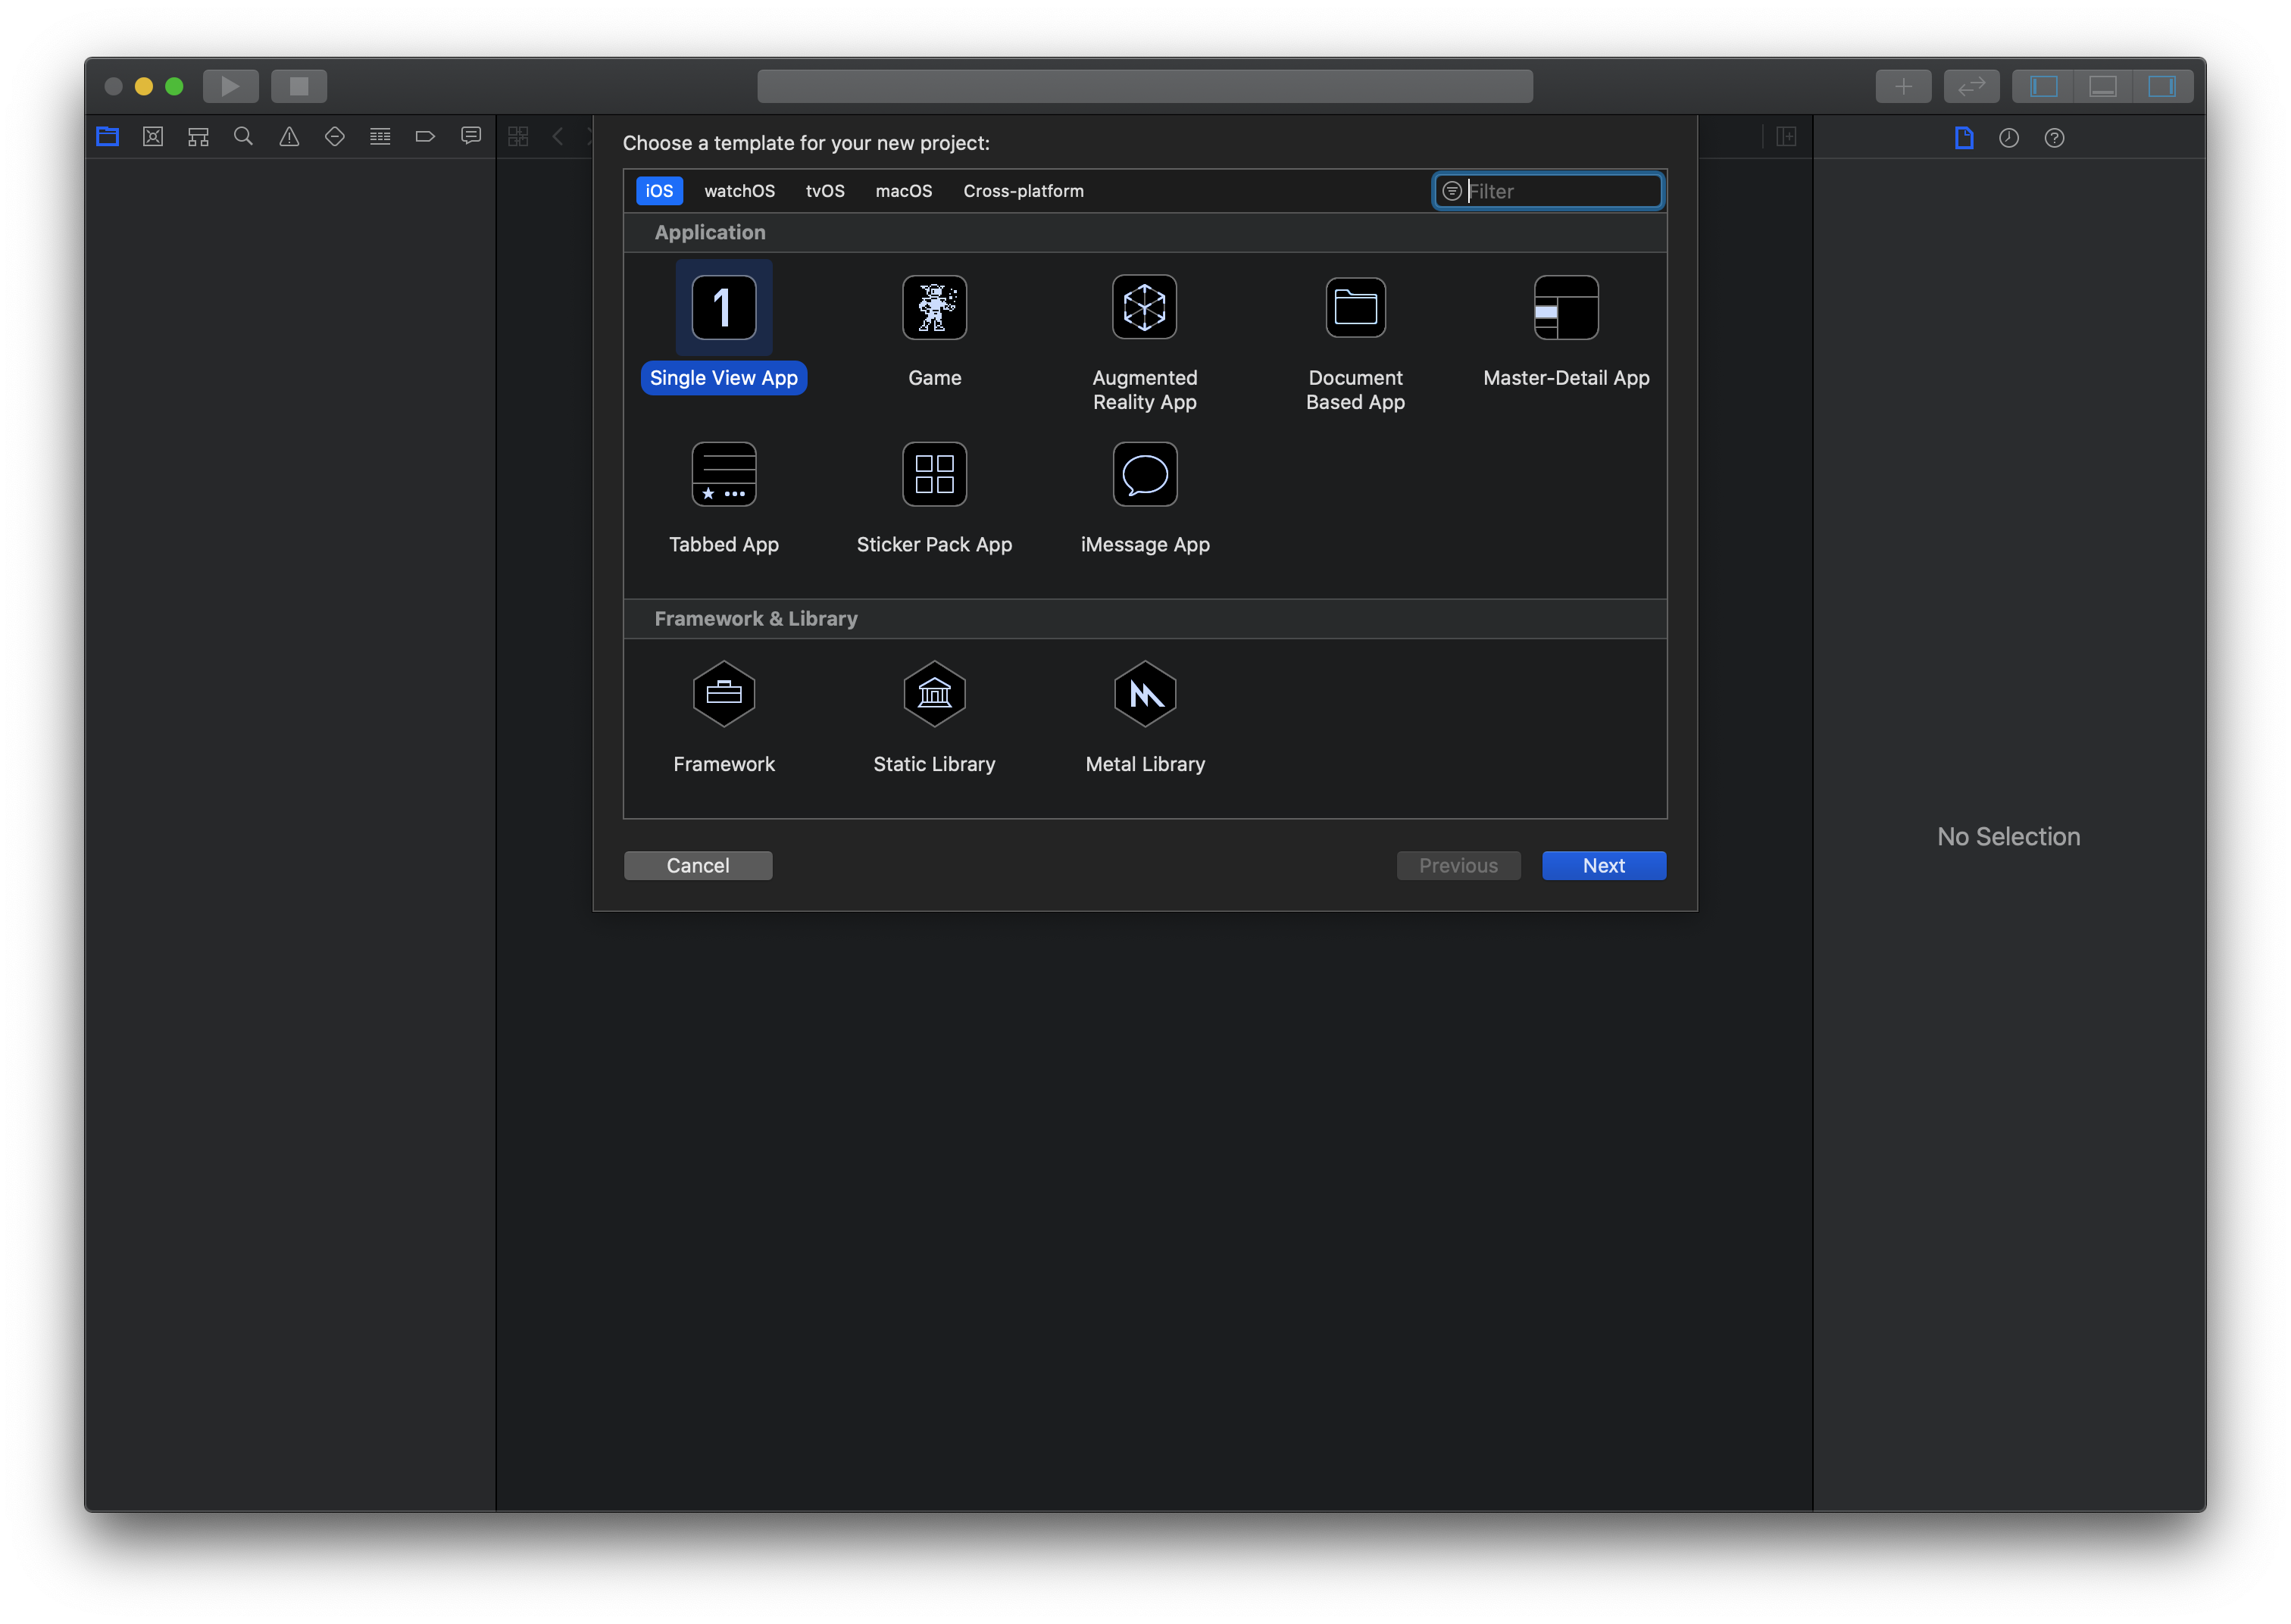
Go ahead and create a blank project in Xcode, and make sure SwiftUI is selected.

Creating The Custom PlayerView
Go ahead and create a new class PlayerView which subclasses UIView. This will give a basic boilerplate as shown below. Go ahead and delete the code for the draw function. We won't need it this time.
import UIKit

class PlayerView: UIView {

}
- At the top go ahead and import
AVFoundationandAVKit. We'll need these modules in order to add the player layer in a second. - Next define 3 class variables. The first will be the
playerLayer, as anAVPlayerLayer(). This is the layer which will actually be showing the video on the card. The next variable is thepreviewTimer, aTimeroptional which will control the looping behavior of the video. Finally define thepreviewLength, aDoublewhich defines how long the preview loop is. This is what you should have so far:
import UIKit

class PlayerView: UIView {

    private let playerLayer = AVPlayerLayer()
    private var previewTimer:Timer?
    var previewLength:Double


}
- Define a custom
initfunction which takes in aCGRect(frame),URL(video URL), andDouble(loop duration). Within the initializer, set the preview length and callUIView's initializer with the frame. Also go ahead and define the failable initializer and define a default loop length of15.
import UIKit

class PlayerView: UIView {

    private let playerLayer = AVPlayerLayer()
    private var previewTimer:Timer?
    var previewLength:Double

    init(frame: CGRect, url: URL, previewLength:Double) {
        self.previewLength = previewLength
        super.init(frame: frame)
    }

    required init?(coder: NSCoder) {
        self.previewLength = 15
        super.init(coder: coder)
    }
}
- We're almost done with this class. Hang in there. It only get's easier from here. Next we're going to setup the player within the
PlayerViewinitializer function.
init(frame: CGRect, url: URL, previewLength:Double) {
    self.previewLength = previewLength
    super.init(frame: frame)

    // Create the video player using the URL passed in.
    let player = AVPlayer(url: url)
    player.volume = 0 // Will play audio if you don't set to zero
    player.play() // Set to play once created.

    // Add the player to our Player Layer
    playerLayer.player = player
    playerLayer.videoGravity = .resizeAspectFill // Resizes content to fill whole video layer.
    playerLayer.backgroundColor = UIColor.black.cgColor

    previewTimer = Timer.scheduledTimer(withTimeInterval: previewLength, repeats: true, block: { (timer) in
        player.seek(to: CMTime(seconds: 0, preferredTimescale: CMTimeScale(1)))
    })

}
Most of the new code explains itself. However let's explain the timer. The scheduleTimer function takes in our previewLength variable to run a closure after its specified amount of time. That's when we set the player's current time to zero. Rememember the player was already playing (We started it earlier in the initializer).
- The final touch on this class is to override the
layoutSubviews()function. This will make sure theplayerLayerfills out the entire view when it's resized within its SwiftUIView. Final class shown below.
import UIKit
import AVFoundation
import AVKit

class PlayerView: UIView {
    private let playerLayer = AVPlayerLayer()
    private var previewTimer:Timer?
    var previewLength:Double

    init(frame: CGRect, url: URL, previewLength:Double) {
        self.previewLength = previewLength
        super.init(frame: frame)

        // Create the video player using the URL passed in.
        let player = AVPlayer(url: url)
        player.volume = 0 // Will play audio if you don't set to zero
        player.play() // Set to play once created

        // Add the player to our Player Layer
        playerLayer.player = player
        playerLayer.videoGravity = .resizeAspectFill // Resizes content to fill whole video layer.
        playerLayer.backgroundColor = UIColor.black.cgColor

        previewTimer = Timer.scheduledTimer(withTimeInterval: previewLength, repeats: true, block: { (timer) in
            player.seek(to: CMTime(seconds: 0, preferredTimescale: CMTimeScale(1)))
        })


        layer.addSublayer(playerLayer)
    }

    required init?(coder: NSCoder) {
        self.previewLength = 15
        super.init(coder: coder)
    }

    override func layoutSubviews() {
        super.layoutSubviews()
        playerLayer.frame = bounds
    }
}
Setting Up The UIViewRepresentable
Next up we will creat a wrapper for our PlayerView that you use to integrate into your SwiftUI view hierarchy.
- Go ahead and create the class,
VideoView, and subclassUIViewRepresentable. - Import the
AVFoundationandAVKitmodules like last time. - Create 3 class variables: the
videoURL:URL,showPreview:Bool, andpreviewLength:Double - Then
UIViewRepresentable requires us to provide implementations ofmakeUIViewandupdateUIViewfunctions. I've shown below how to implementmakeUIView.updateUIView` will be empty.
import SwiftUI
import AVFoundation
import AVKit

struct VideoView: UIViewRepresentable {

    var videoURL:URL
    var previewLength:Double?

    func makeUIView(context: Context) -> UIView {
        return PlayerView(frame: .zero, url: videoURL, previewLength: previewLength ?? 15)
    }

    func updateUIView(_ uiView: UIView, context: Context) {

    }
}
That's it!
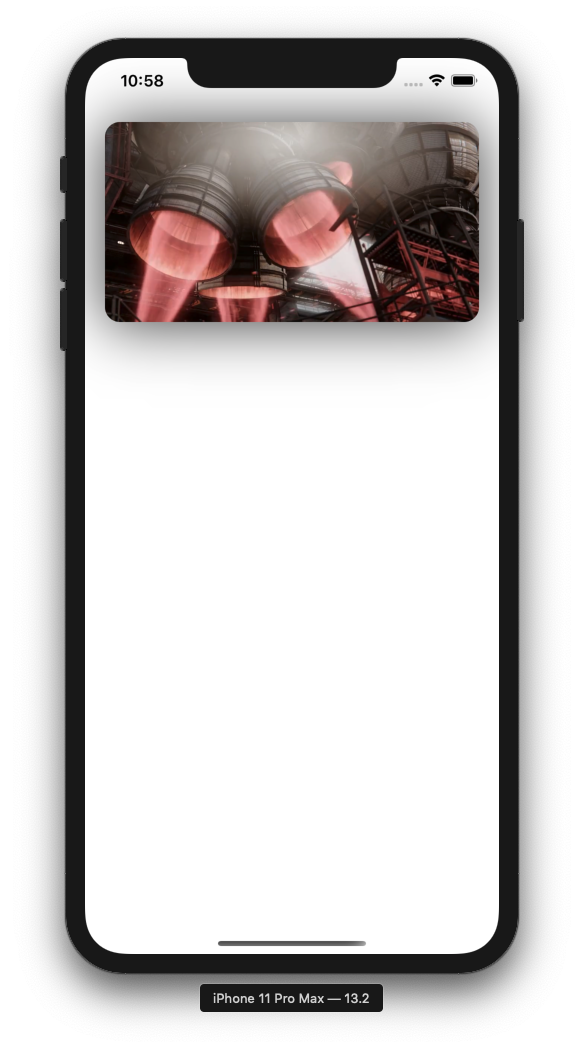
This will create your basic Video View that you can drop into your SWiftUI project. Below is a basic implementation using SwiftUI.
However, we're going to take it a step further if you keep reading
import SwiftUI

struct VideoCardTestView: View {

    @State var maxHeight:CGFloat = 200

    var body: some View {
        VStack{
            VideoView(videoURL: URL(string: "https://commondatastorage.googleapis.com/gtv-videos-bucket/sample/TearsOfSteel.mp4")!, previewLength: 60)
                .cornerRadius(15)
                .frame(width: nil, height: maxHeight, alignment: .center)
                .shadow(color: Color.black.opacity(0.7), radius: 30, x: 0, y: 2)
                .padding(.horizontal, 20)
                .padding(.top, 20)

            Spacer()
        }
    }
}
Extra Credit!
For those sticking with us, I'll show you how we can add a 'play' icon on top of the video, as well as add support for tap gestures.
- Create a new SwiftUI
ViewnamedVideoCard. - Add a
@Statevariable for showing the play icon. Then one for the video URL, and finally the preview length.
@State var videoURL:URL
@State var showPlayIcon:Bool
var previewLength:Double
- In the
bodycreate aZStackas the root element and inside place an instance of theVideoViewwe created earlier. - Now for the play icon. We can create it by instantiating an
Imageobject and provide the string for the system image play icon. place this below yourVideoView
Image(systemName: "play.circle.fill")
Add an if statement around the image to conditionally show the play image, by utilizing the showPlayIcon variable. Optionally, you may add some style to the play icon. Here's what your class should generally look ike now:
import SwiftUI

struct VideoCard: View {

    @State var videoURL:URL
    @State var showPlayIcon:Bool
    var previewLength:Double

    var body: some View {
        ZStack {
            VideoView(videoURL: videoURL, previewLength: previewLength)
            if showPlayIcon {
                Image(systemName: "play.circle.fill")
                .resizable()
                .scaledToFit()
                .frame(minWidth: 20, idealWidth: 40, maxWidth: 40, minHeight: 20, idealHeight: 40, maxHeight: 40, alignment: .center)
                .foregroundColor(Color.white)
            }

        }
    }
}
...and for the cherry on top. To add tap gestures to the card, update your view to include this at the bottom of the ZStack
.onTapGesture {
    // You Tapped the Video Card!
}
Extra Credit Complete!
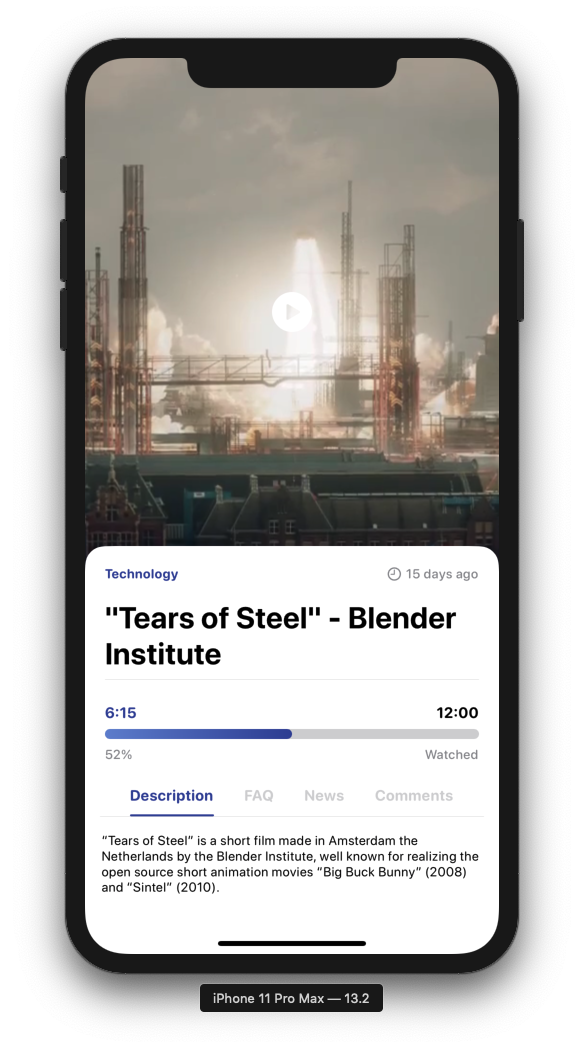
Here's an example mockup of how I used my VideoCard in testing!
Show us what you've made!
We want to see what you've made using this tutorial! Send us pics! Find us on Twitter @TrailingClosure, on Instagram, or email us at [email protected].