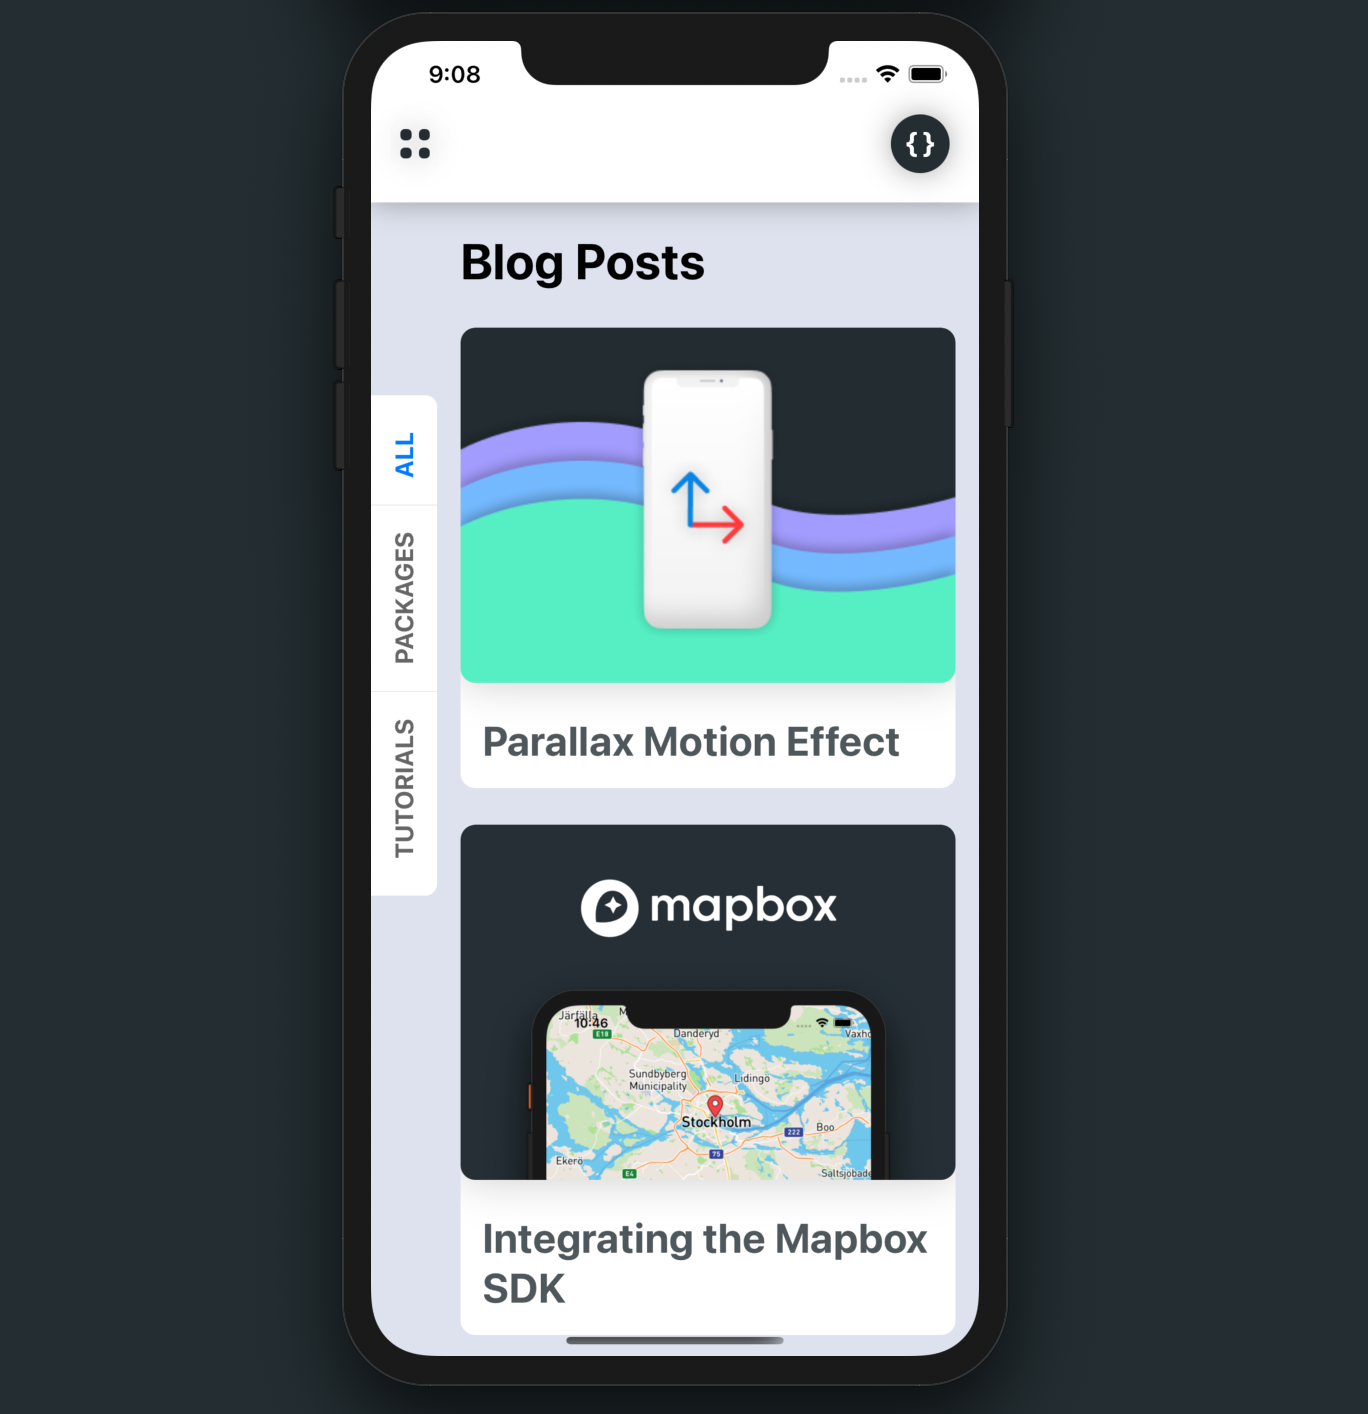
This week's SwiftUI tutorial covers a component that I've seen popping up in designs floating around the community lately. I'll show you briefly how to create your own sidebar menu in SwiftUI. This kind of component pairs well with the new LazyVStack and LazyHStack that was released under iOS 14 this year. Let's get into it.
Before getting started, please consider subscribing using this link, and if you aren't reading this on TrailingClosure.com, please come check us out sometime!
Getting Started
Create a new SwiftUI file names SideMenu.swift and define two properties for the struct.
struct  SideMenu: View {

    @Binding var selected: Int
	var options: [String]

	var body: some View {
    	Text("Placeholder")
    }

}
The selected represent which tab is selected on the menu, and options holds the string values that will be displayed. Now time to build out the view.
Defining body
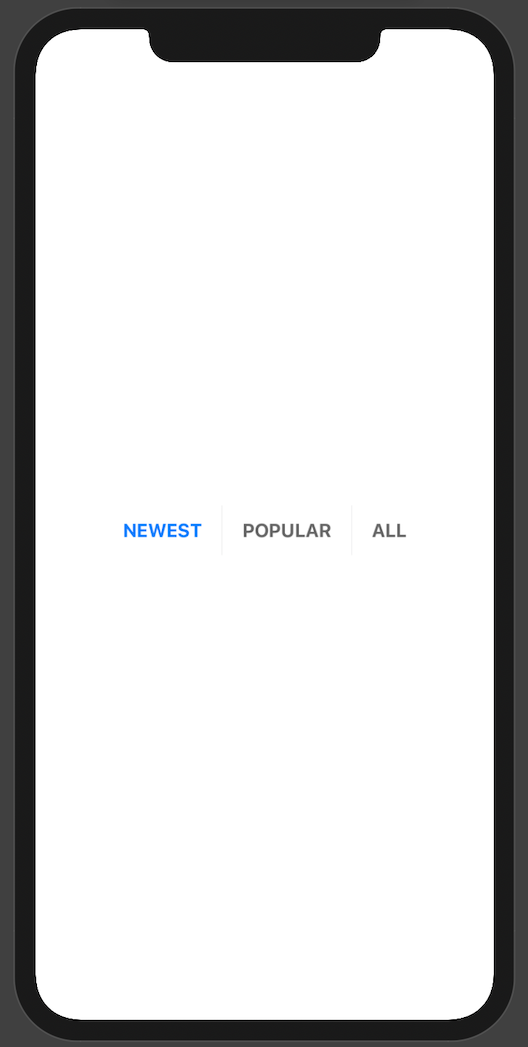
One way to visualize how we are going to construct our side menu is to picture how we would construct a normal horizontal menu. We'd create a horizontal stack (HStack) of Button components using the string values passed via options. Then when the user taps a button, we'd modify the selected variable that was passed in as a binding. This lets the parent that a new selection was made on the menu.
Let's go ahead and start with that as a basis for our menu.
var body: some View {
    HStack {
        ForEach(options.indices) { i in
            Button(action: {
                withAnimation {
                    self.selected = i
                }

            }, label: {
                Text(options[i])
                    .font(.body)
                    .fontWeight(.bold)
                    .padding(.horizontal, 10)
                    .foregroundColor(self.selected == i ? Color.blue : Color.black.opacity(0.6))
            }).buttonStyle(PlainButtonStyle())

            if i < options.count - 1 {
                Divider()
                    .frame(width: nil, height: 45, alignment: .center)
                    .opacity(0.7)
            }

        }
    }
}As you can see above, we've looped through the values in options in order to create the buttons. When a user makes a selection, the selected binding is updated and the parent can update accordingly.
In addition to creating the buttons, I've gone ahead and added some basic styling to our view. Things like dividers and changing the text color of the active selection, help clue the user into how to navigate and use your menu.
Putting the "Side" in "Side Menu"
Now comes the cool part. We're going to apply a rotation effect to our view as well as an offset, in order to push it to the left hand side of the screen. Pay close attention to the last few lines of the following code. That's where the magic happens.
var body: some View {
    GeometryReader { geo in
        HStack {
            ForEach(options.indices) { i in
                Button(action: {
                    withAnimation {
                        self.selected = i
                    }

                }, label: {
                    Text(options[i])
                        .font(.body)
                        .fontWeight(.bold)
                        .padding(.horizontal, 10)
                        .foregroundColor(self.selected == i ? Color.blue : Color.black.opacity(0.6))
                }).buttonStyle(PlainButtonStyle())

                if i < options.count - 1 {
                    Divider()
                        .frame(width: nil, height: 45, alignment: .center)
                        .opacity(0.7)
                }

            }
        }
        .padding(.top, 10)
        .padding(.horizontal, 15)
        .background(Color.white)
        .cornerRadius(8)
        .offset(x: geo.size.height * -0.65, y: -10)
        .rotationEffect(Angle(degrees: -90), anchor: .topLeading)

    }
}
You can see I've wrapped our previous view in a GeometryReader. This gives us a GeometryProxy variable we use grab the frame and to offset the menu to the side of the screen.
Using the SideMenu in a project
In order to use the SideMenu in our project you can easily wrap it in a ZStack and place your content inside.
ZStack {
    Color.black.opacity(0.8) //Content Here
    SideMenu(selected: $selected, options: ["NEWEST", "POPULAR", "ALL"])
        .foregroundColor(.black)
}.edgesIgnoringSafeArea(.vertical)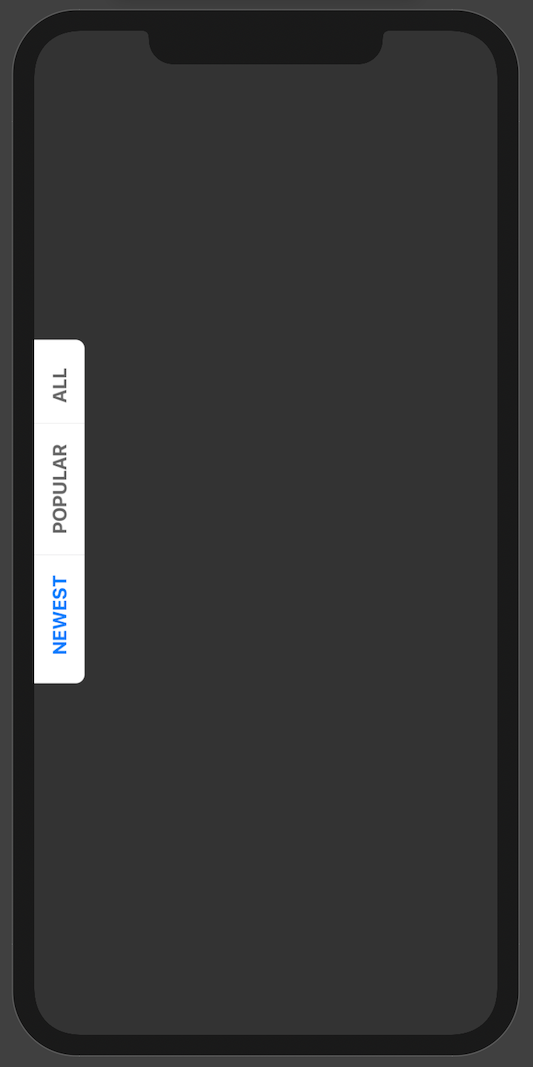
Show us what you made!
We want to see what you've made using this tutorial! Send us pics! Find us on Twitter @TrailingClosure, on Instagram, or email us at [email protected]