Today we'll walkthrough adding your own custom fonts to a SwiftUI project, and then some of the ways we can make it easier to utilize them within our project.
If you found this tutorial helpful, please consider subscribing using this link, and if you aren't reading this on TrailingClosure.com, please come check us out sometime!
Download Your Custom Font
If you don't already have a custom font downloaded to your computer, then no worries. Sites suchs as https://fonts.google.com/ provides tons of fonts for you to download and use in your project. Just make sure the ones you download are True Type Font (.ttf) and Open Type Font (.otf) format. Once you've got those we can move on to the next step.
Add the Font File to Your Project
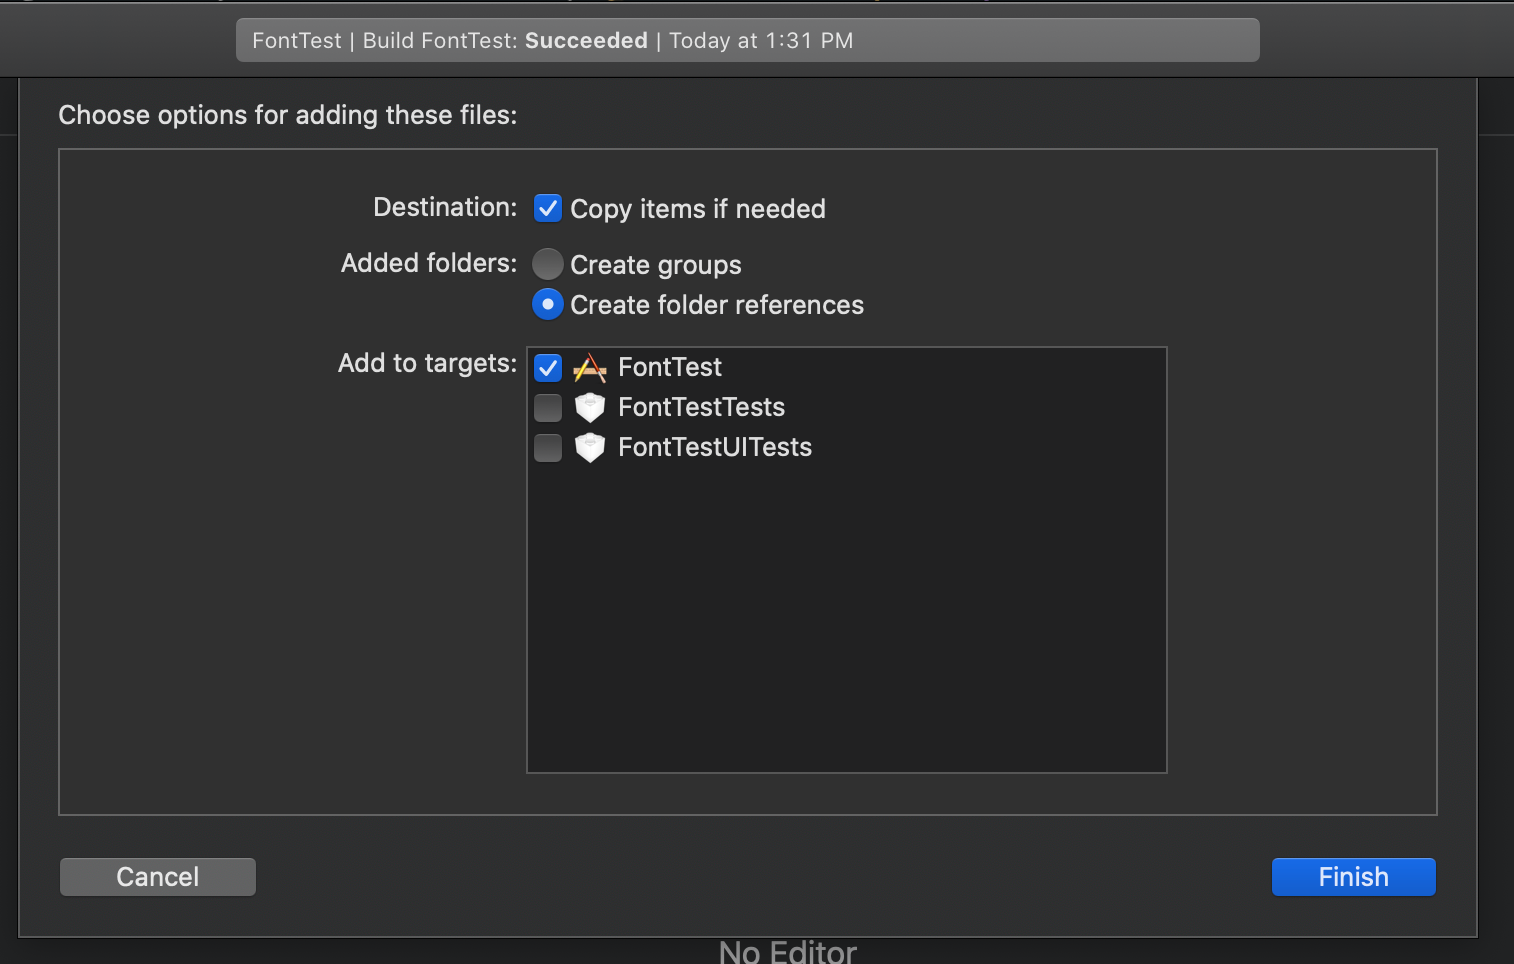
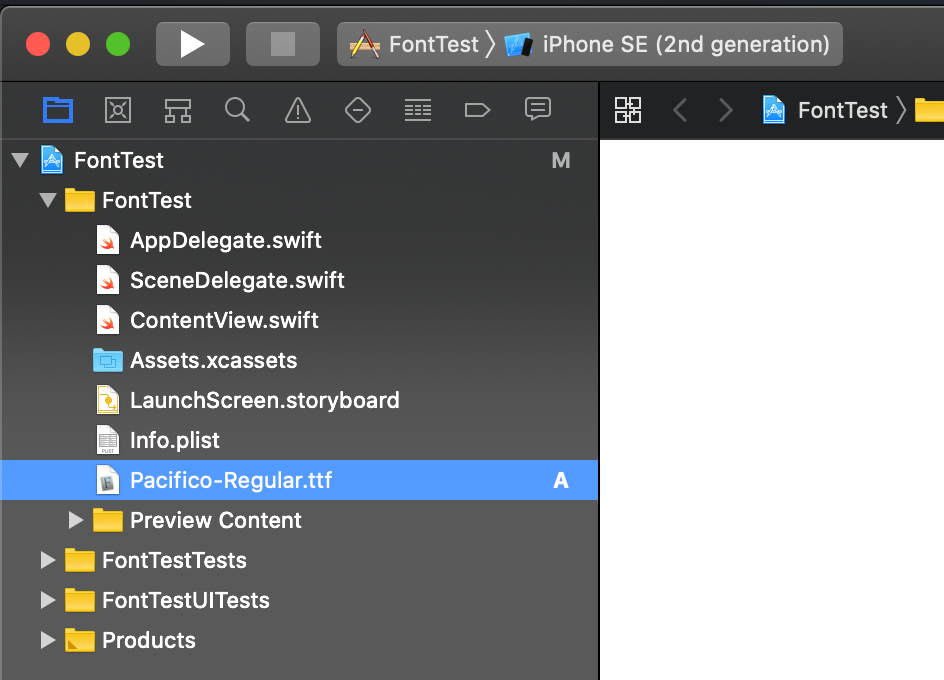
Next you need to drag the font files into your xcode project like shown below. Make sure that your project is selected as a target when adding each font file. If not, then your font won't be included in the build.
Add Font Name to Property List
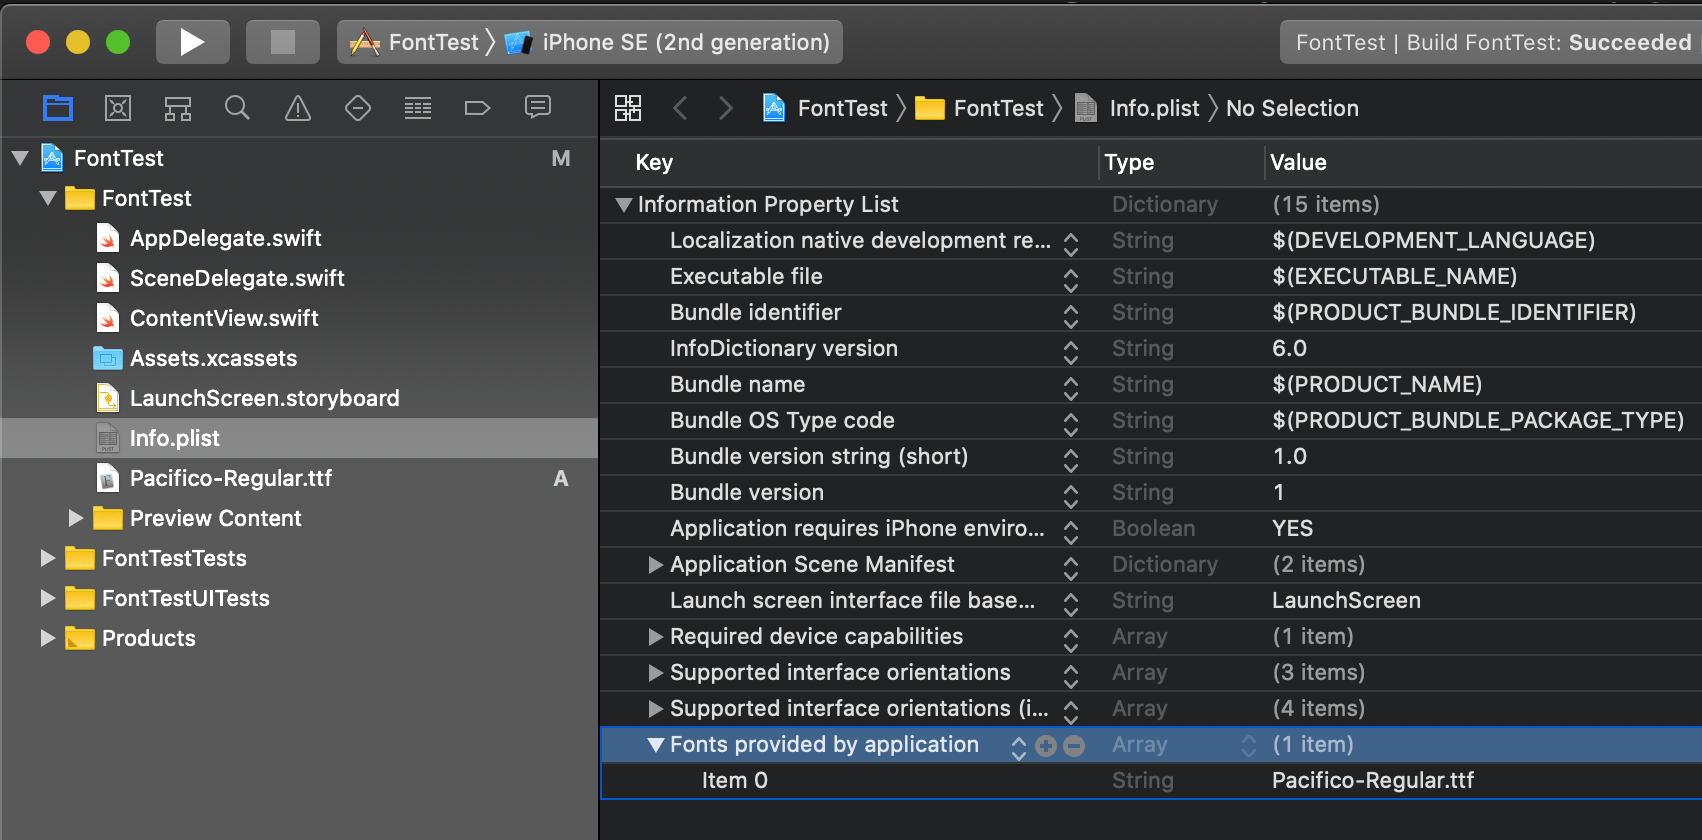
To be able to use the font within your code, you'll need to register it inside your project's info.plist file. Start off by adding the Fonts provided by application row at the bottom of the file. You can right-click and select add row to do this. Then provide the name of your font as the string value to the the first item in the array. If you have multiple fonts then add additional items inside the Fonts provided by application key.
Using The Font in Code
If you only have one font file then it can be fairly painless to start applying the font to your text inside your app.
Text("My Custom Font in SwiftUI!")
    .font(.custom("Pacifico-Regular", size: 20))
However, we can take this a step further and make it easy to combine the built-in TextStyles and Font.Weights that SwiftUI has, with our custom font. Here's an example ViewModifier I created. Note, you can also provide text coloring based off of the provided TextStyle. Making all .title text blue and all .caption a light gray color, just become that much easier.
struct PacificoFontModifier: ViewModifier {

    var style: UIFont.TextStyle = .body
    var weight: Font.Weight = .regular

    var textColor: Color {
        switch style {
        case .title1:
            return .blue
        case .caption1:
            return Color.black.opacity(0.8)
        default:
            return .black
        }
    }

    func body(content: Content) -> some View {
        content
            .font(Font.custom("Pacifico-Regular", size: UIFont.preferredFont(forTextStyle: style).pointSize)
            .weight(weight))
        .foregroundColor(textColor)
    }

}
Reducing Boilerplate Code
You take this a step further and create an extension to the View protocol. This will allow you to apply the font without the call to .modifier(modifier:). Furthermore, you can create additional ViewModifiers for other fonts.
extension View {
    func pacificoFont(style: UIFont.TextStyle, weight: Font.Weight) -> some View {
        self.modifier(PacificoFontModifier(style: style, weight: weight))
    }
}
Example
VStack(alignment: .leading) {
    Text("Pacifico Title")
        .pacificoFont(style: .title1, weight: .bold)

    Text("Custom Body Text")
        .pacificoFont(style: .body, weight: .regular)

}
Like this tutorial?
Show us what you've made!
Send us pics! Drop us a link! Anything! Find us on Twitter @TrailingClosure, on Instagram, or email us at [email protected].