Time to work our ViewModifier muscles! In this week's tutorial we're going to put a twist on the classic dissolve effect!
RectangleBefore getting started, please consider subscribing using this link, and if you aren't reading this on TrailingClosure.com, please come check us out sometime!
Getting Started
In the example above I showed what it looks like when a Rectangle is used as a mask for the dissolve effect. However, in this tutorial we're going to create a ViewModifier that accepts any View as the shape it uses to create the dissolve effect. Stay tuned to see how powerful this effect really is!
- Create a new
ViewModifiernamedShapeDissolveModifier. Below is the boilerplate for our struct. There are two variables defined. The first is ourmaskfor the dissolve effect. OurMasktype is defined above as a Generic on theShapeDissolveModifier. The second is theprogressof the dissolve animation. As this increases from0to1, the view will dissolve.
struct ShapeDissolveModifier<Mask: View>: ViewModifier {

    let mask: Mask
    var progress: Double

    func body(content: Content) -> some View {
        content
    }
}
- Create a new function
buildMask(GeometryProxy, Double) -> some View. This function's job is to take the mask template we defined earlier,mask, and create 100 copies of varyingopacity. These copies combine to create a full mask which will dissolve over time.
func buildMask(geometry: GeometryProxy, progress: Double) -> some View {
    // Create Dissolve Mask here...
}
- Within the function we use the
GeometryProxyto calculate the size of the mask piece copies.
func buildMask(geometry: GeometryProxy, progress: Double) -> some View {

    let width = geometry.size.width
    let height = geometry.size.height

    let wUnit = width/10.0
    let hUnit = height/10.0

    // resize the mask to 1/10th of the parent view.
    let maskPiece = mask
        .frame(width: wUnit, height: hUnit, alignment: .center)
}
- Next we'll need to create three closures to allow us to generate the
x,y, andopacityvalues for the mask copies.
func buildMask(geometry: GeometryProxy, progress: Double) -> some View {

    let width = geometry.size.width
    let height = geometry.size.height

    let wUnit = width/10.0
    let hUnit = height/10.0

    // resize the mask to 1/10th of the parent view.
    let maskPiece = mask
        .frame(width: wUnit, height: hUnit, alignment: .center)

    // Calculate X coordinate for a mask copy
    let xCoord = { (x:Int) -> CGFloat in
        wUnit * CGFloat(x)
    }

    // Calculate Y coordinate for a mask copy
    let yCoord = { (y:Int) -> CGFloat in
        hUnit * CGFloat(y)
    }

    // Calculate a random opacity for a mask copy
    let opacity = { () -> Double in
        return Double.random(in: 0...3) * progress + progress
    }

}
- Now to put them all together. We'll use
ForEachto generate100maskpieces with the appropiate values using the closures we just made.
func buildMask(geometry: GeometryProxy, progress: Double) -> some View {

    let width = geometry.size.width
    let height = geometry.size.height

    let wUnit = width/10.0
    let hUnit = height/10.0

    // resize the mask to 1/10th of the parent view.
    let maskPiece = mask
        .frame(width: wUnit, height: hUnit, alignment: .center)

    // Calculate X Coordinate for a mask copy
    let xCoord = { (x:Int) -> CGFloat in
        wUnit * CGFloat(x)
    }

    // Calculate Y Coordinate for a mask copy
    let yCoord = { (y:Int) -> CGFloat in
        hUnit * CGFloat(y)
    }

    // Calculate Random Opacity for a mask copy
    let opacity = { () -> Double in
        return Double.random(in: 0...3) * progress + progress
    }

    // Combine all of the mask pieces together
    let fullMask = Group {
        ForEach(0..<100) { x in
            maskPiece
                .offset(x: xCoord(x%10), y: yCoord(x/10))
                .opacity(opacity())
        }
    }

    return fullMask
}
Usage Examples!
Now here is the fun part. I've gone ahead and put together a few different examples. Mostly it's just me playing around with it, but you'll get glimpse at some neat uses.
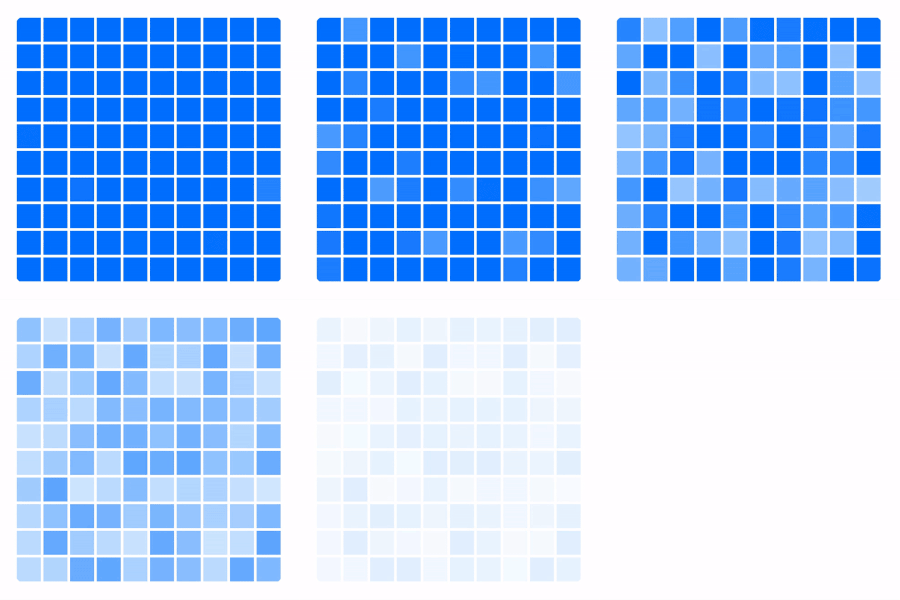
These are different effects based off of just changing the mask being passed into the ShapeDissolveModifier.
Rectangle()
    .foregroundColor(.blue)
    .frame(width: 300, height: 300, alignment: .center)
    .cornerRadius(10)
    .modifier(ShapeDissolveModifier(mask:
        Rectangle()
    ,progress: progress))
    .onAppear {
        withAnimation(Animation.easeInOut(duration: 3.0)) {
            self.progress = 1.0
        }
    }
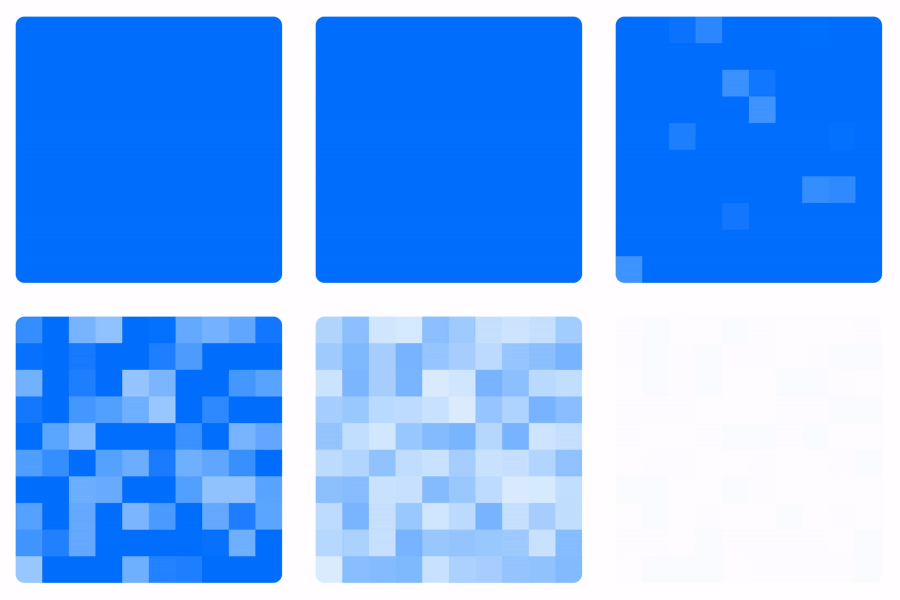
Rectangle MaskRectangle()
.scaleEffect(0.9)
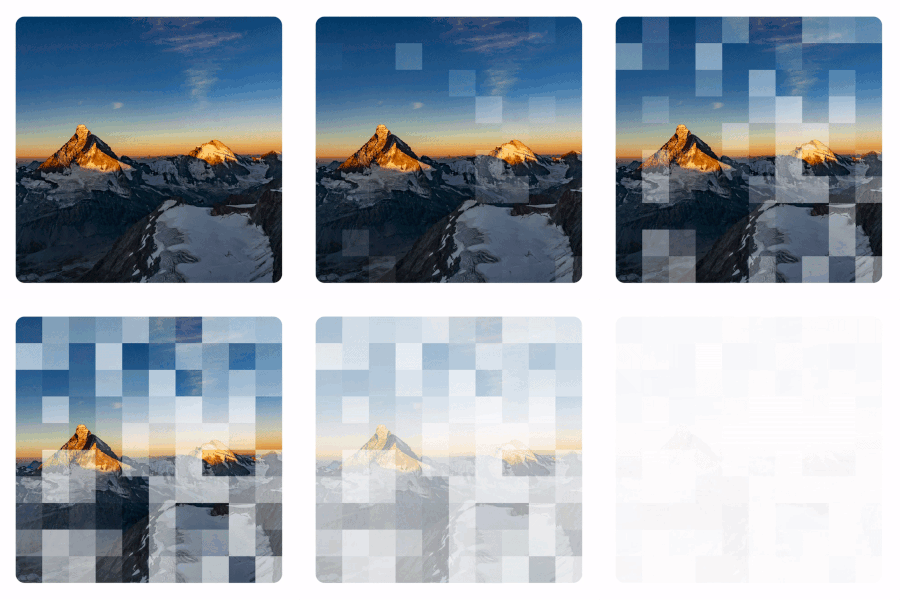
Use it on Images
Image("mountains")
    .resizable()
    .scaledToFill()
    .foregroundColor(.blue)
    .frame(width: 300, height: 300, alignment: .center)
    .cornerRadius(10)
    .modifier(ShapeDissolveModifier(mask:
        Rectangle()
    ,progress: progress))
    .onAppear {
        withAnimation(Animation.easeInOut(duration: 3.0)) {
            self.progress = 1.0
        }
    }
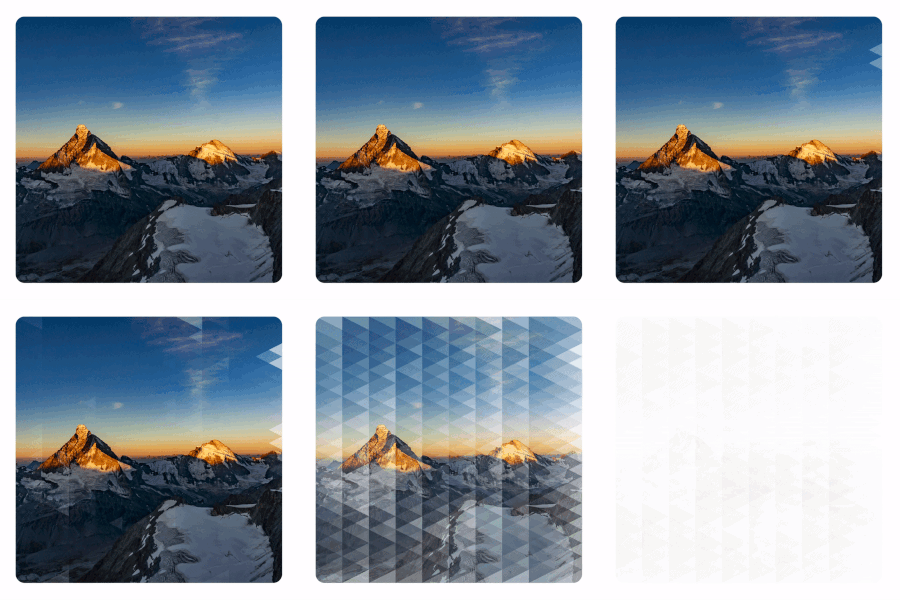
Triangle()
    .rotation(Angle(degrees: 90))
    .scaleEffect(3)
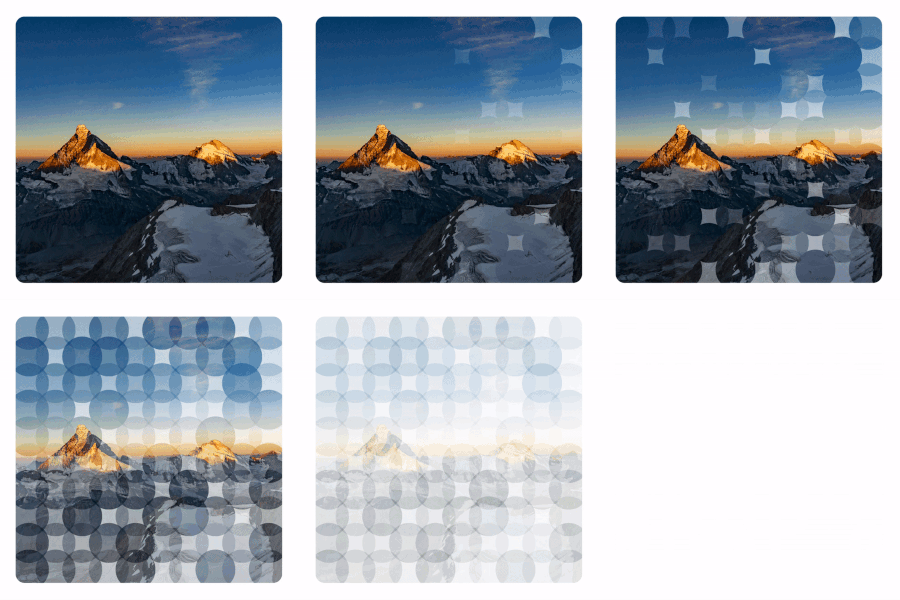
Circle()
    .scaleEffect(1.5)
Support Future Tutorials Like This One!
Please consider subscribing using this link. If you aren't reading this on TrailingClosure.com, please come check us out sometime!
We want to see your work! If you've built something using this tutorial, send us pics! Find us on Twitter @TrailingClosure, or email us at [email protected]